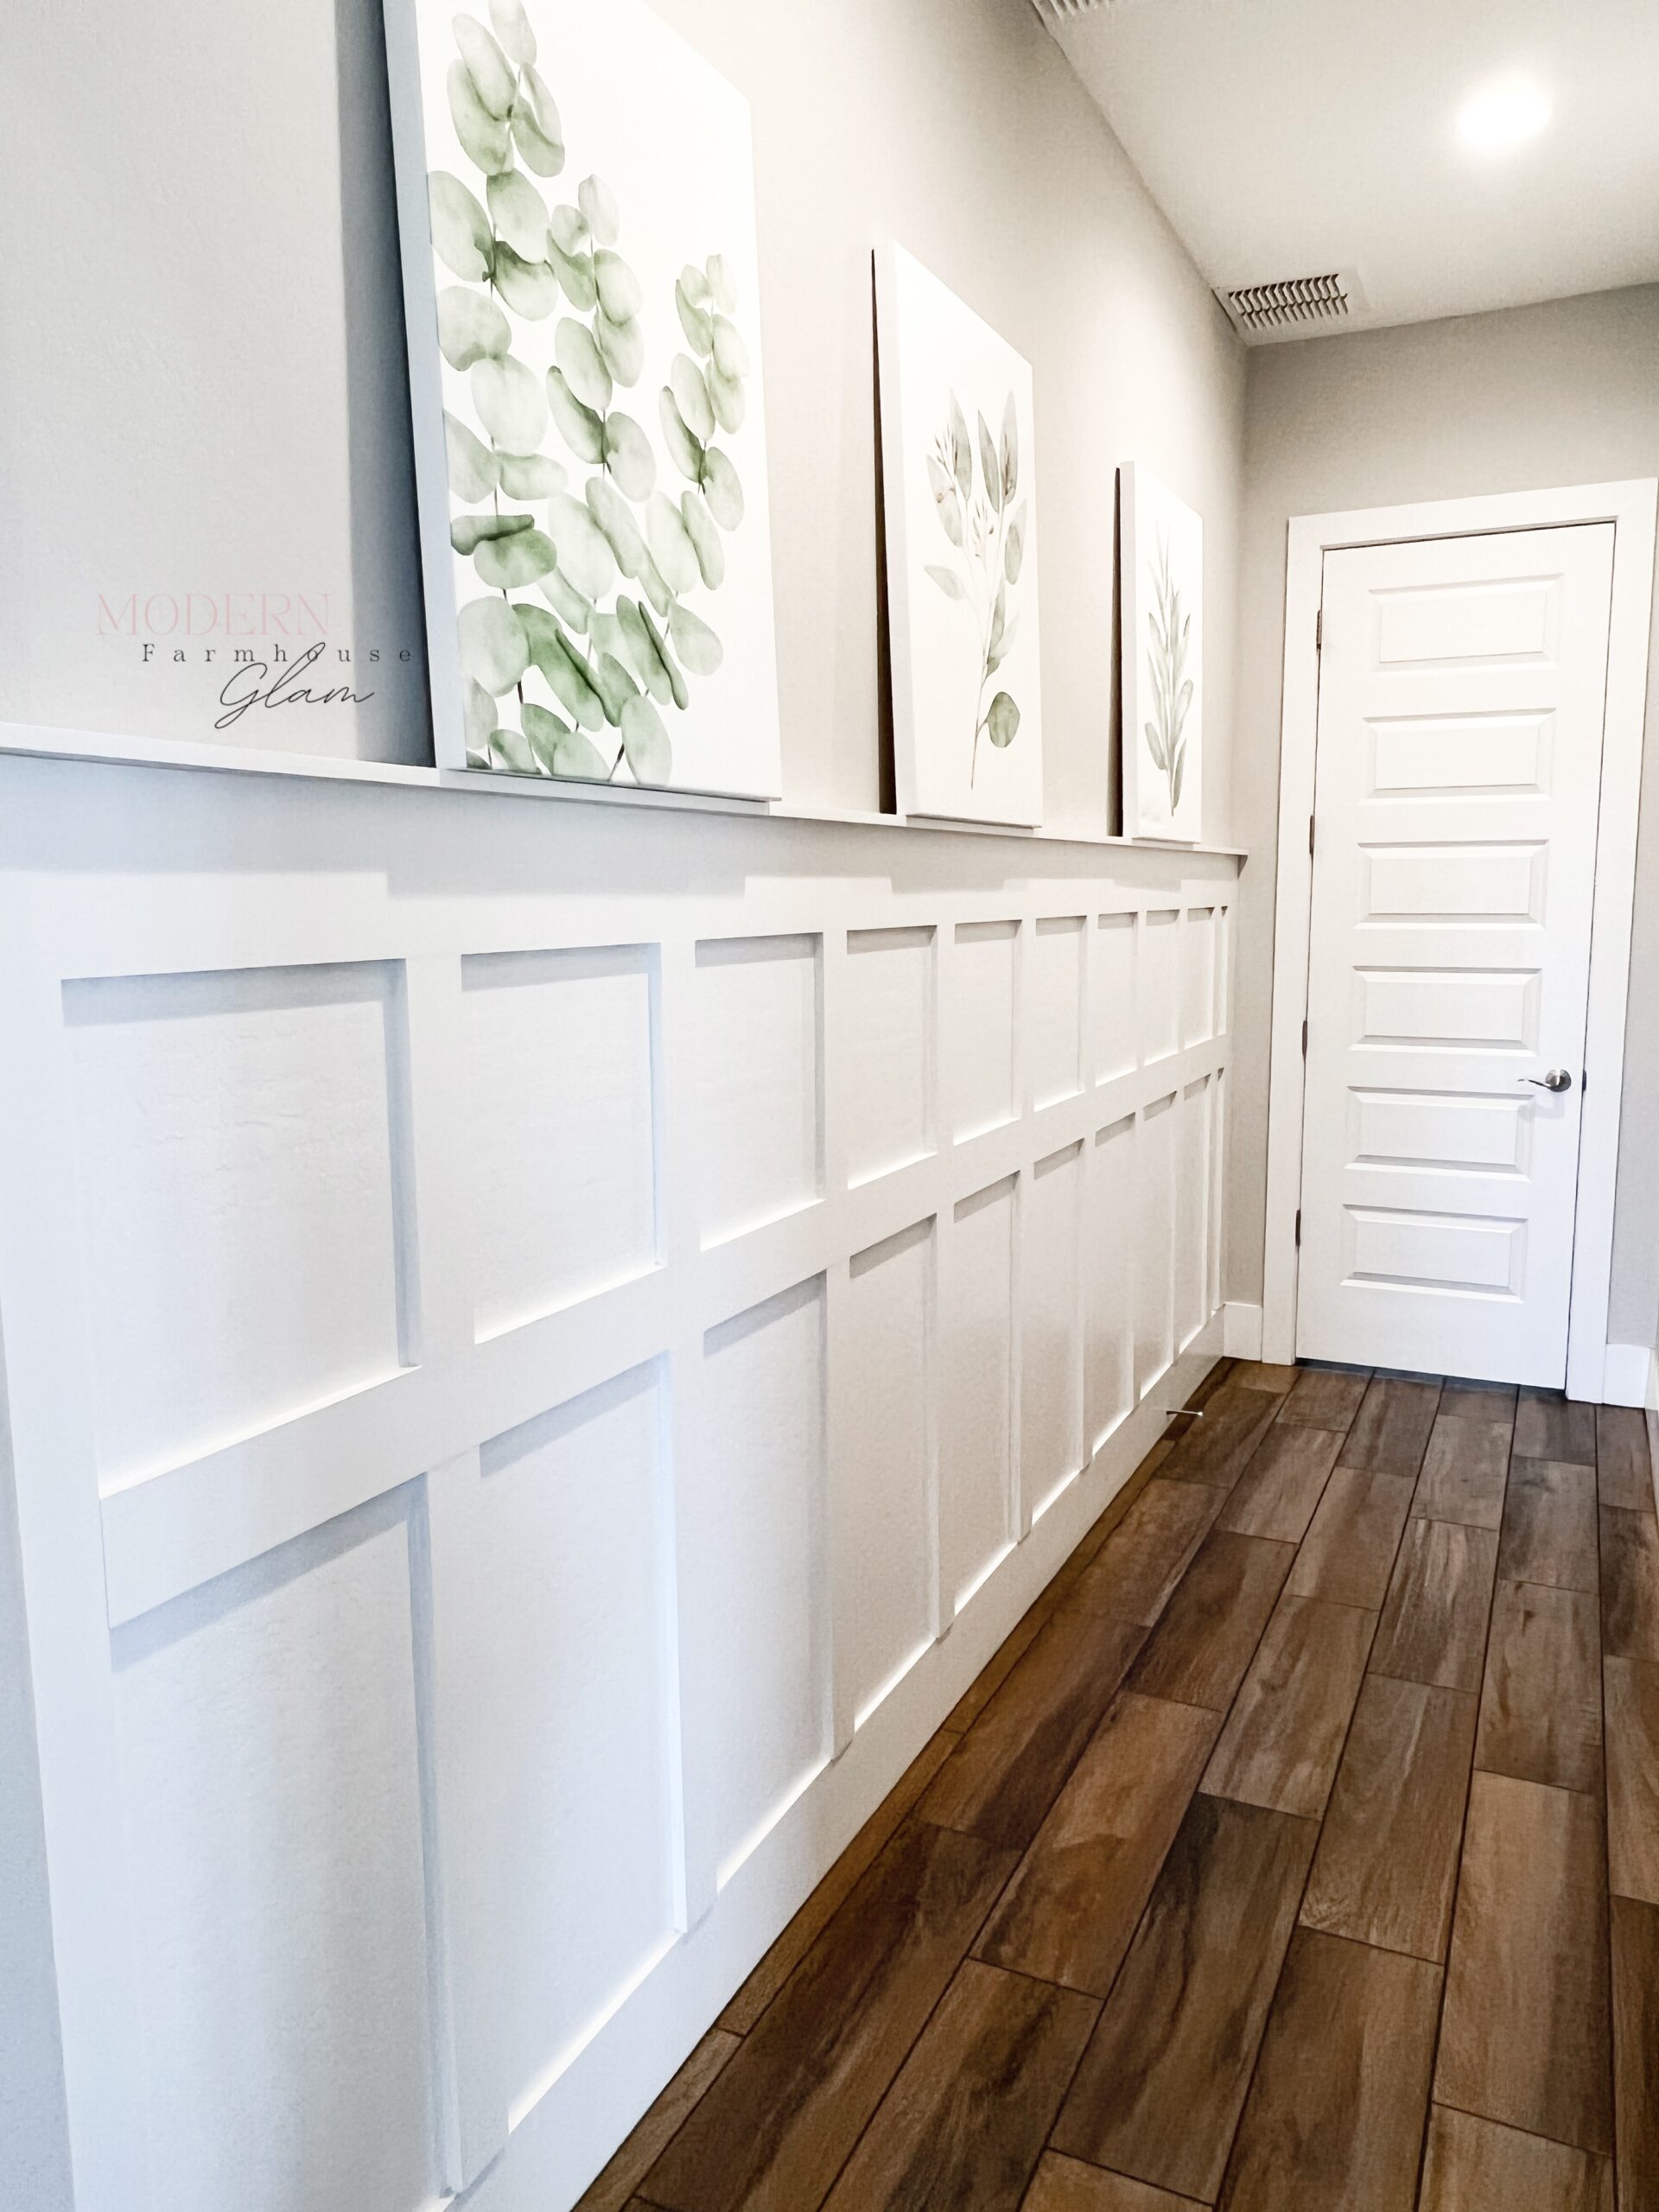
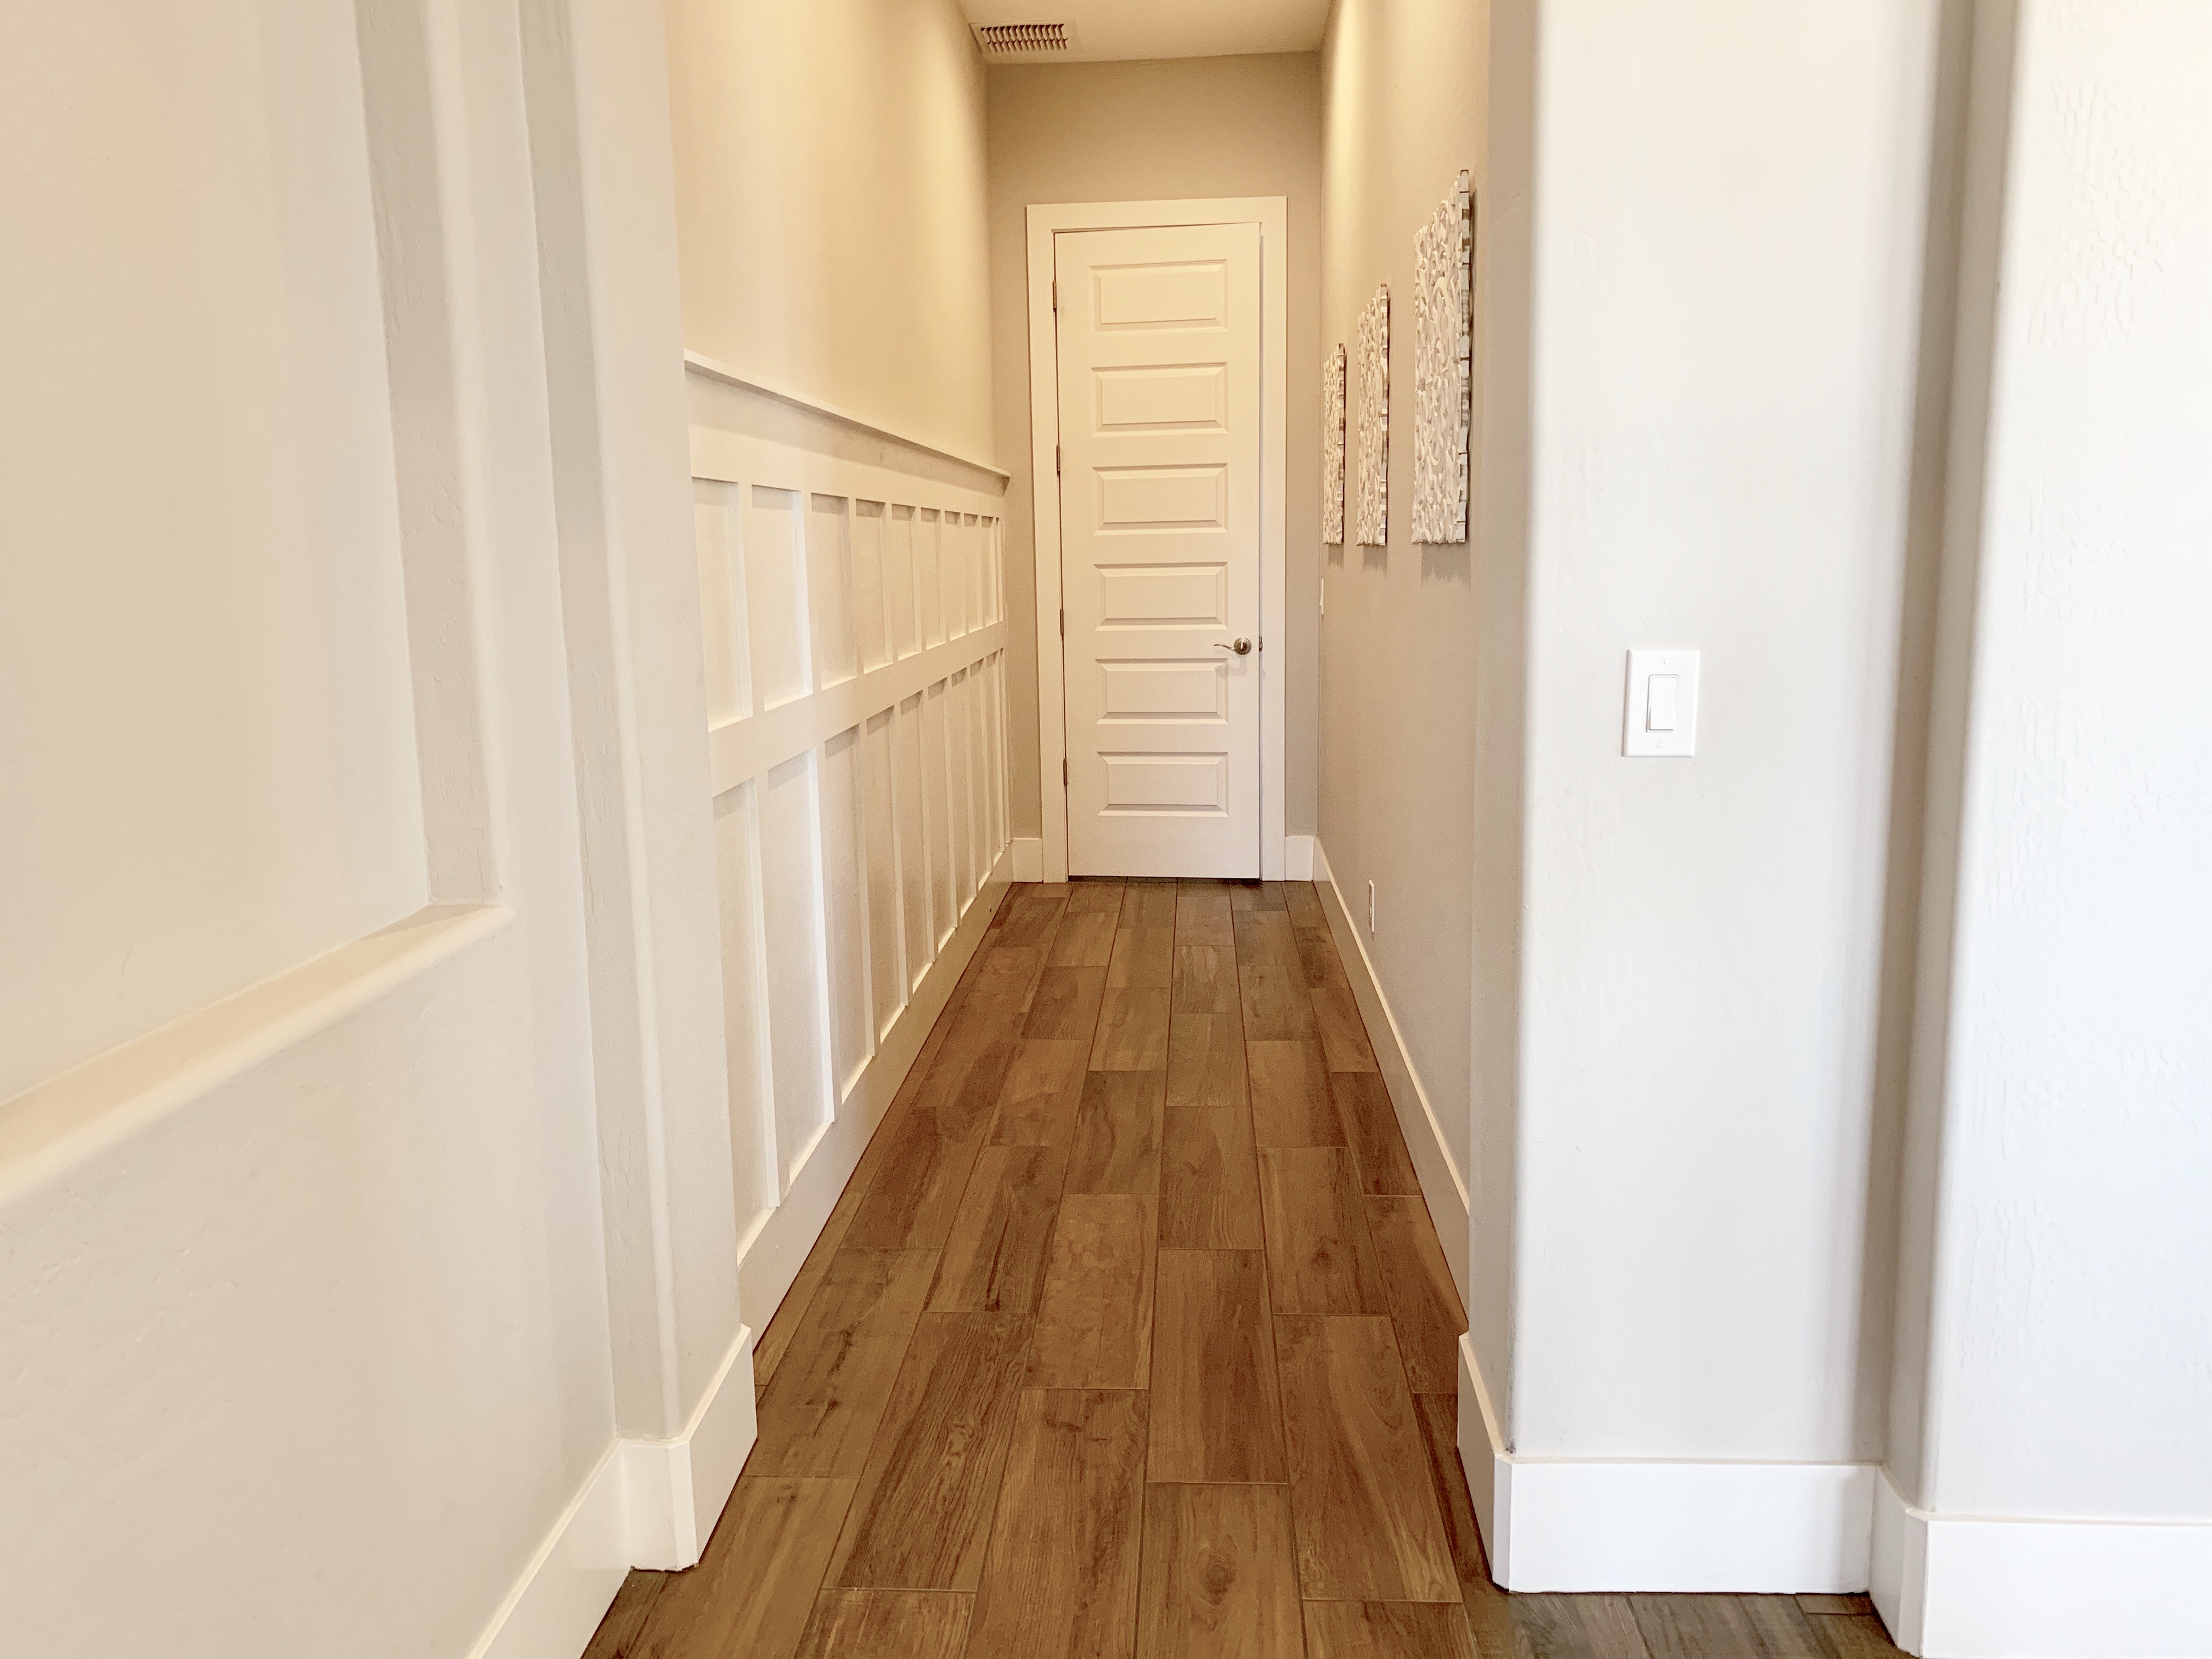
Looking for an easy way to transition your long hallway from BORING to FAB? This DIY Board and Batten project is easy and affordable and YOU can totally do it, too! Wall trim adds character and dimension to a wall and is a great beginner home improvement project.
Board and Batten DIY HOW-TO:
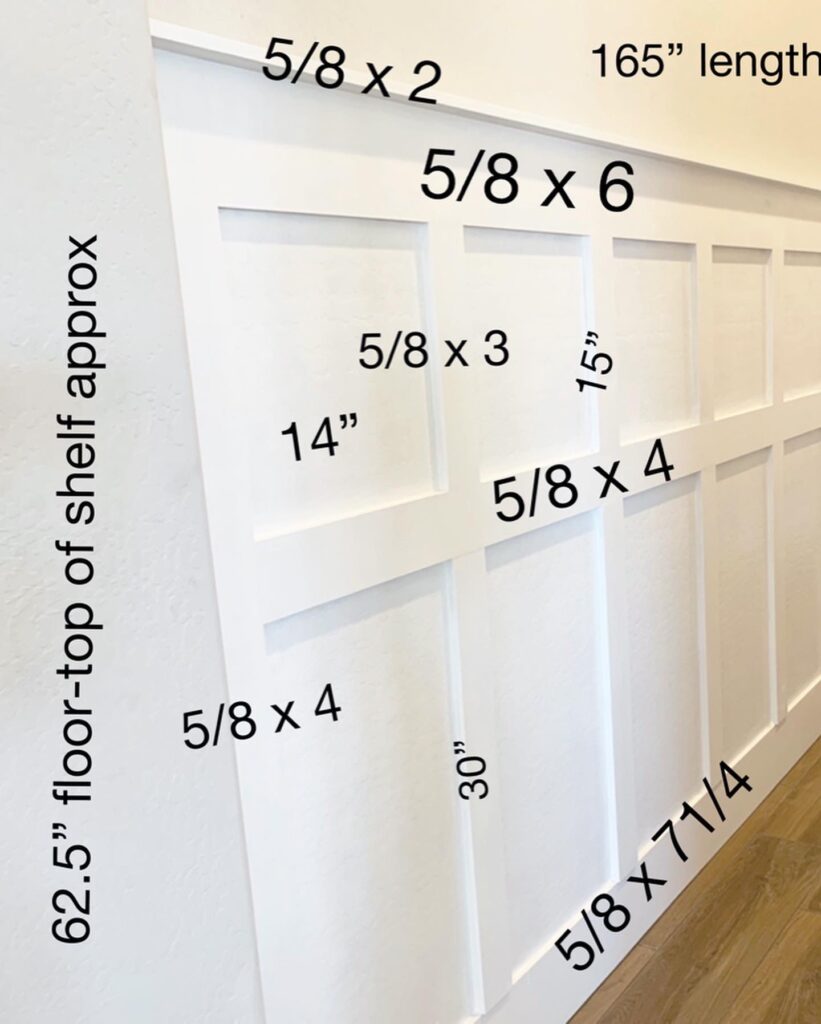
- Figure out your measurements. See my picture diagram with all the measurements as an example. The length of my hallway is approximately 165 inches and from the top of the shelf to the floor is 62.5 inches. 14 inches in between battens. I ended up with nine of each size batten to give you an idea. See diagram for specific size boards! Measure your baseboard if you’re keeping it to see the thickness. Mine was 5/8 so that’s what I used but you may end up going with half inch! In future projects, I have used 1/2 inch so that it is completely flush with the baseboards.
My Amazon DIY tools list HERE. There are tools for this project and other DIY projects as well in this list. More details below on specifics, so you can come back and reference this link later.
Links to similar succulent canvas prints HERE.
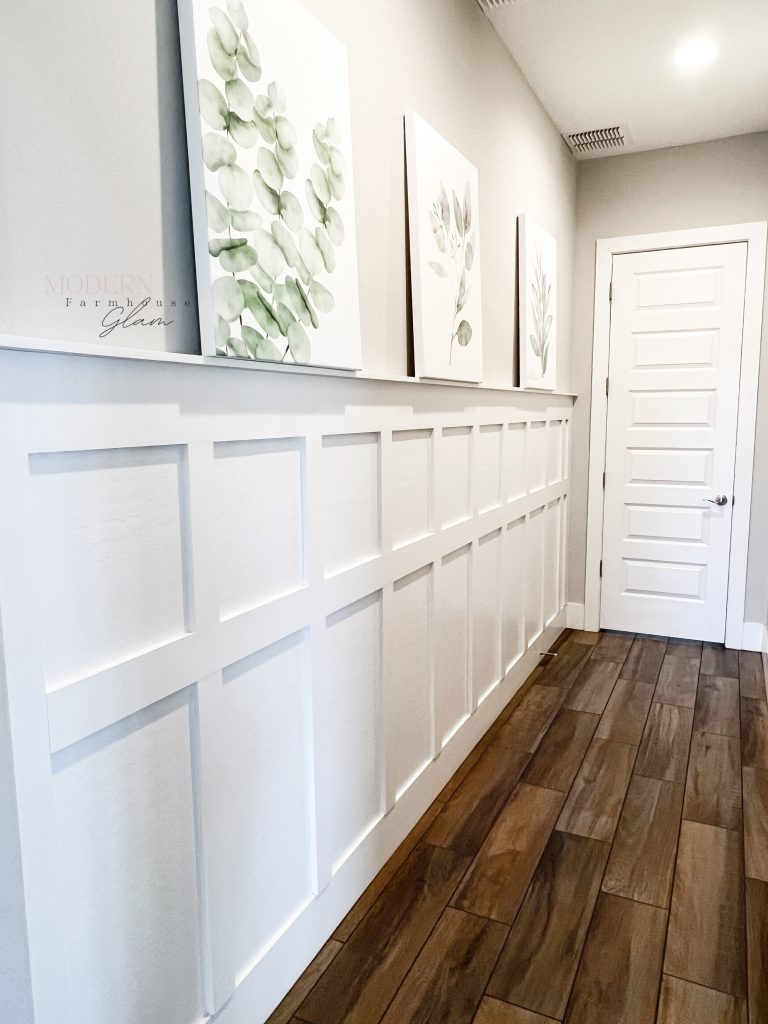
Here’s my update in 2024 with a change in paint color! It really makes the hallway feel richer and moodier, don’t ya think? Here’s a link to my exact paint color, [Sherwin Williams Iron Ore] and you can order it through my link for pickup at your local Lowes store. You can even do curbside pickup to make it even easier. It’s so nice having all of these conveniences! The paint color above is Sherwin Williams Repose Grey and I have it linked for you HERE. I love the contrast of the light grey with the almost black, dark charcoal grey.
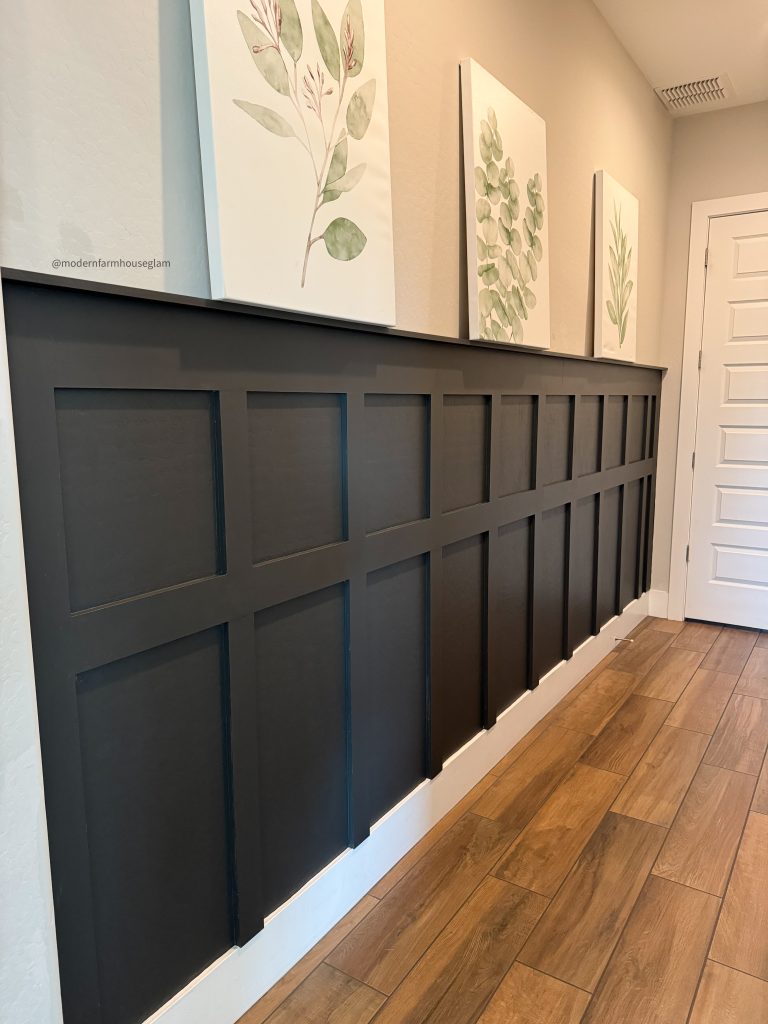
Board and Batten TUTORIAL:
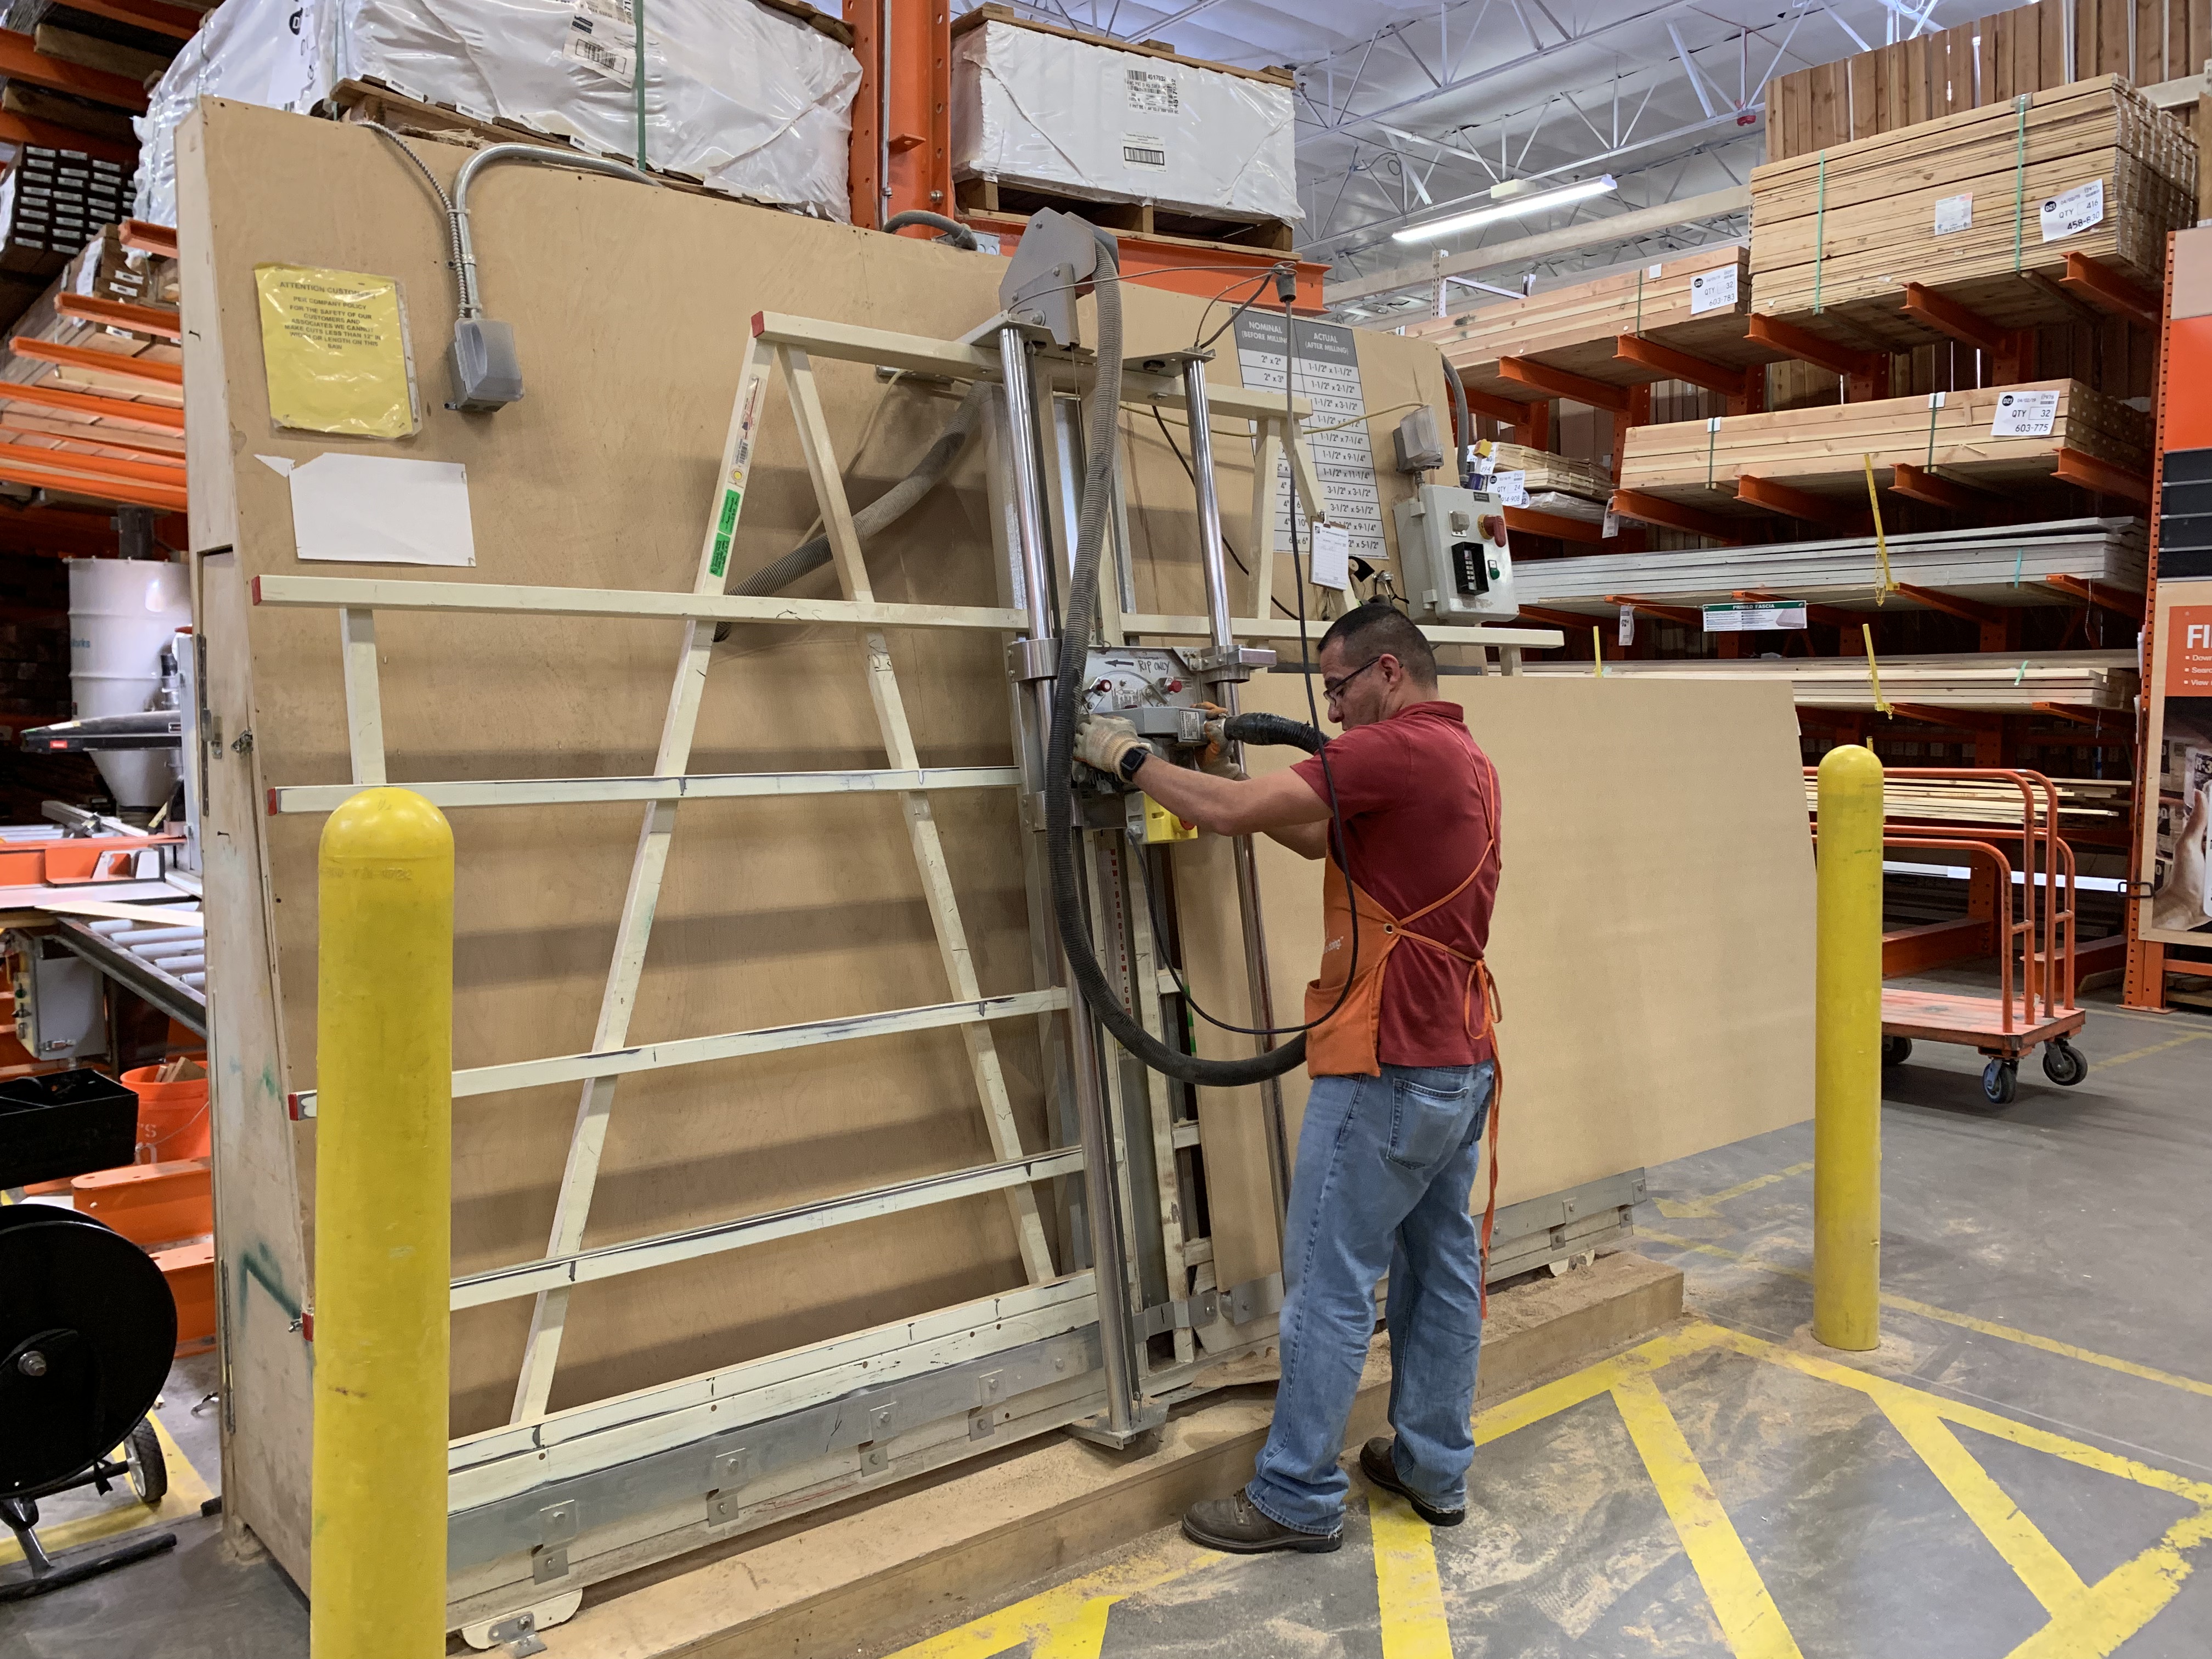
Go to Home Depot and find the 1/2 inch thickness MDF board. I’ve included a picture to show you exactly what I got. Less than $30 for one sheet and I was able to get all of my cuts out of it! {see pic of exactly what I got} Find the Home Depot guy in lumber and get all your cuts made for free! THE BEST! [Note that these prices were from a few years ago, so they have gone up I’m sure]
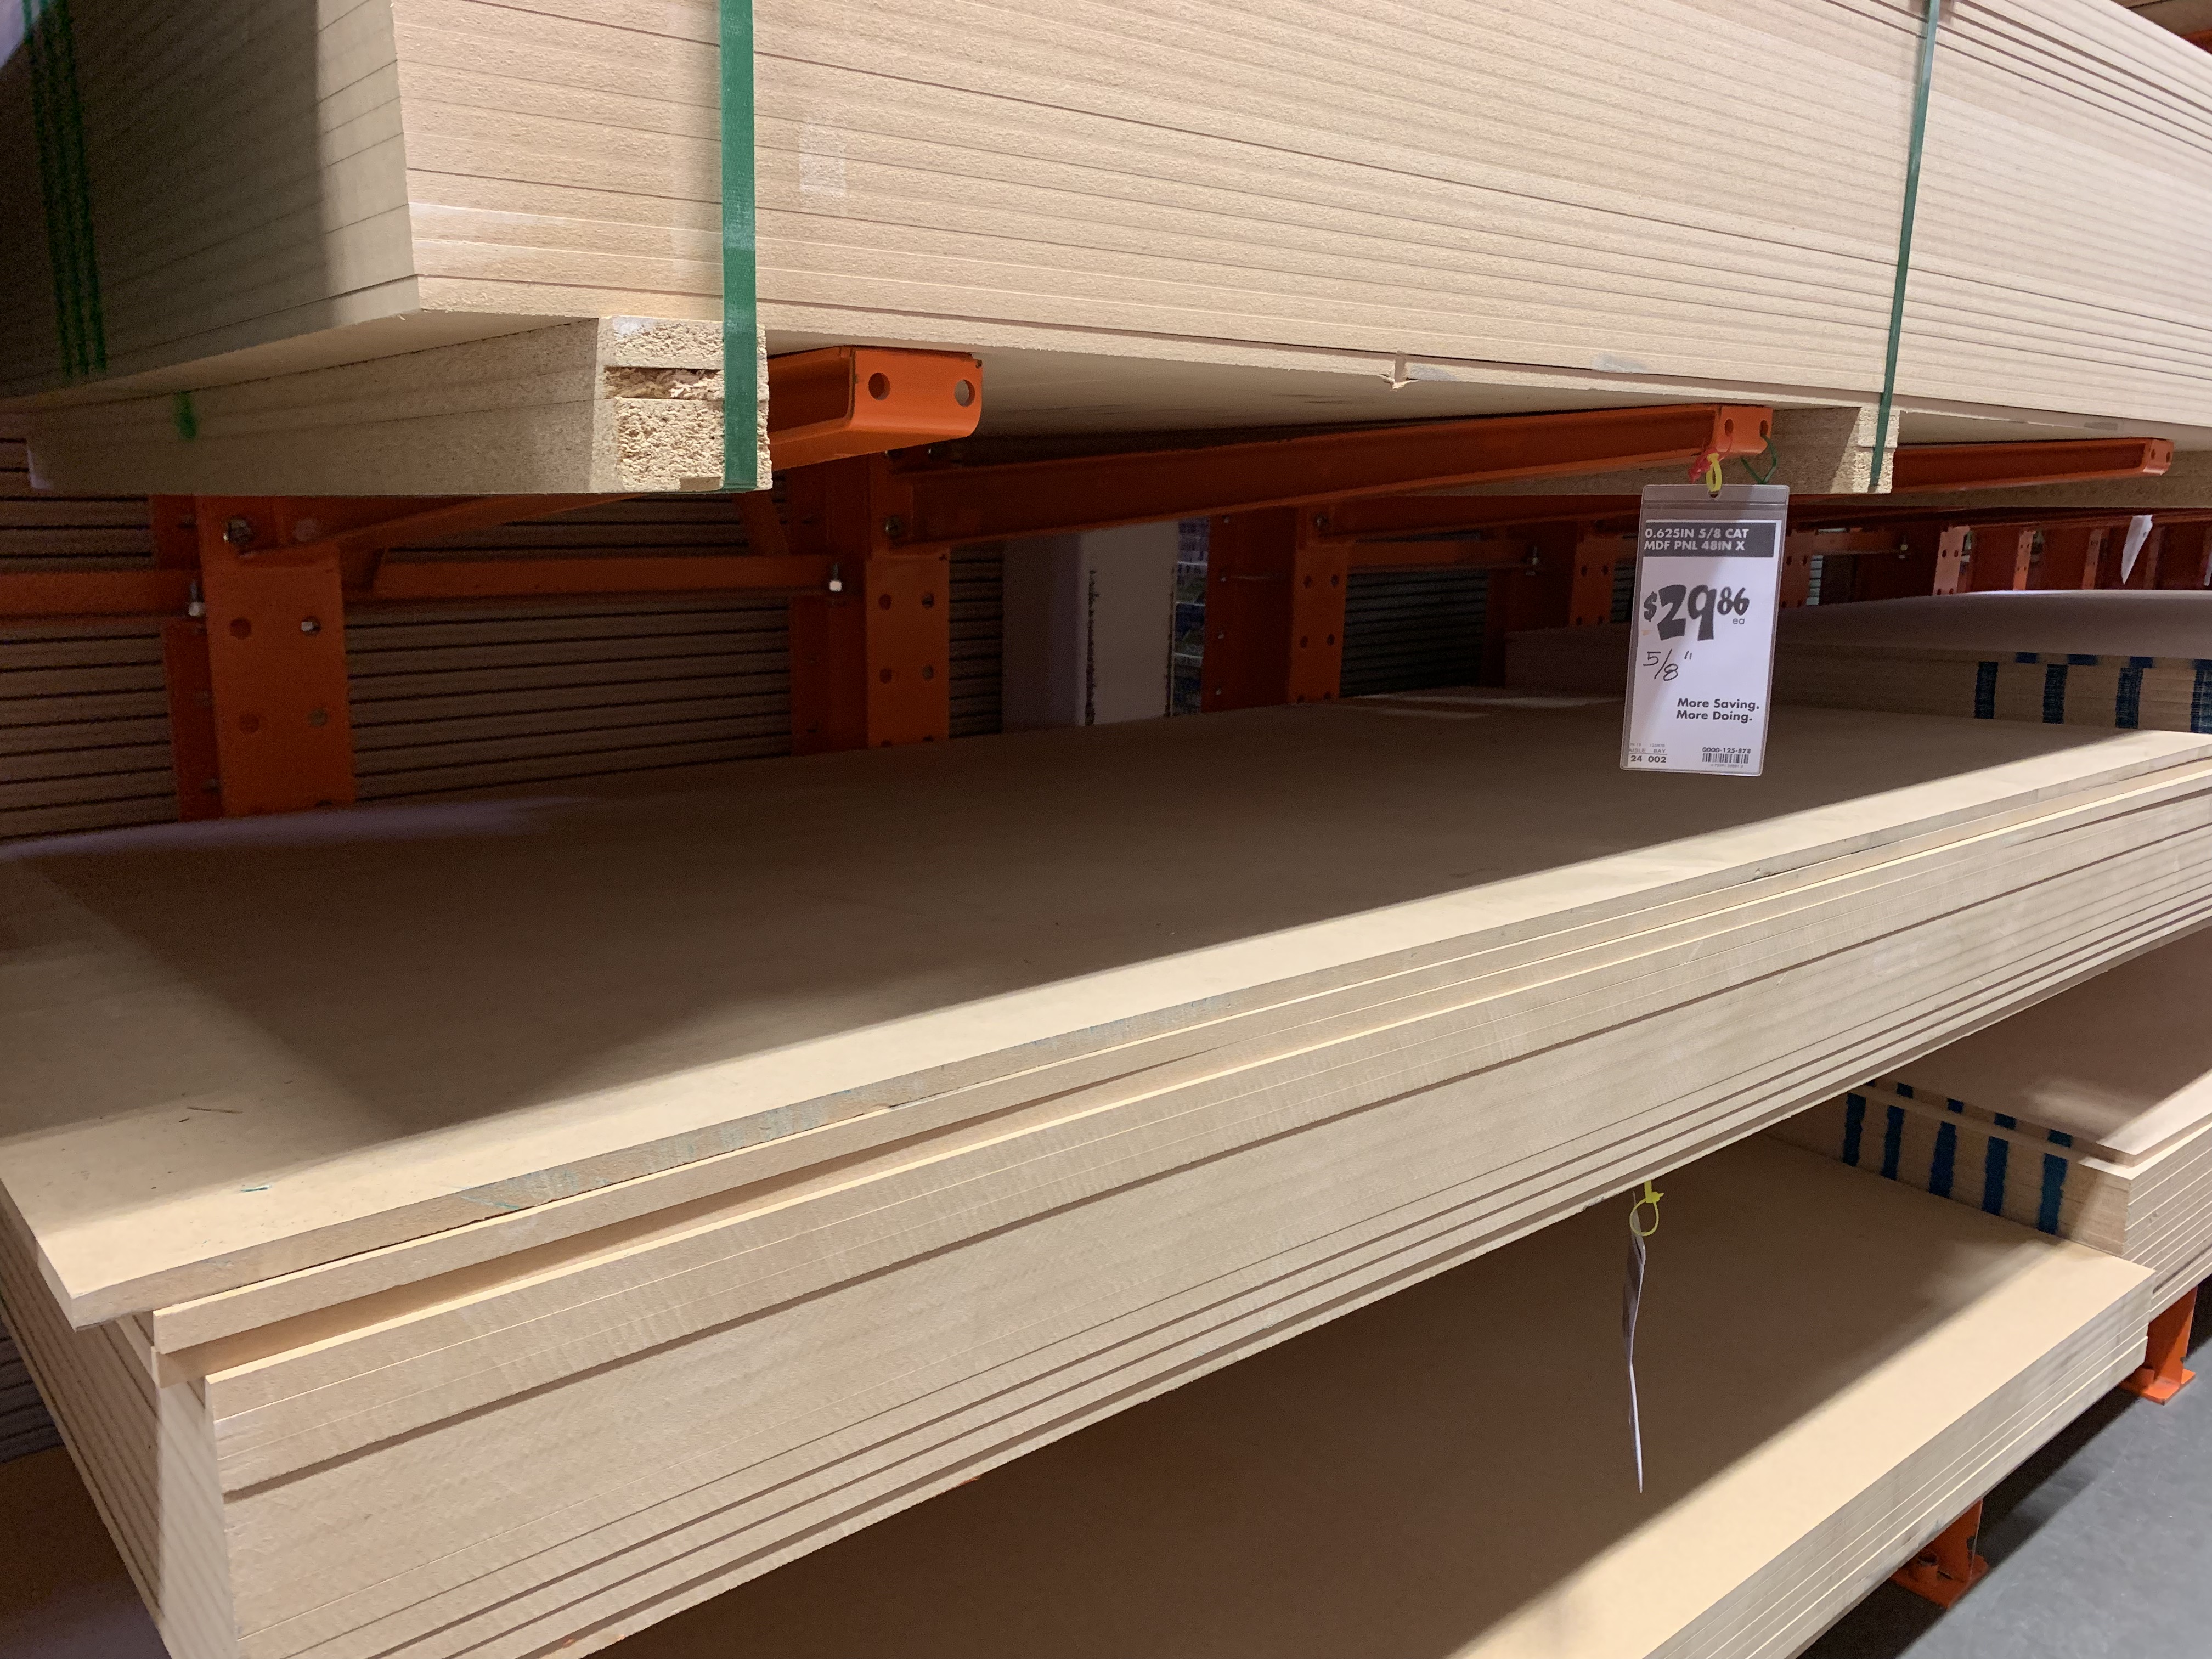
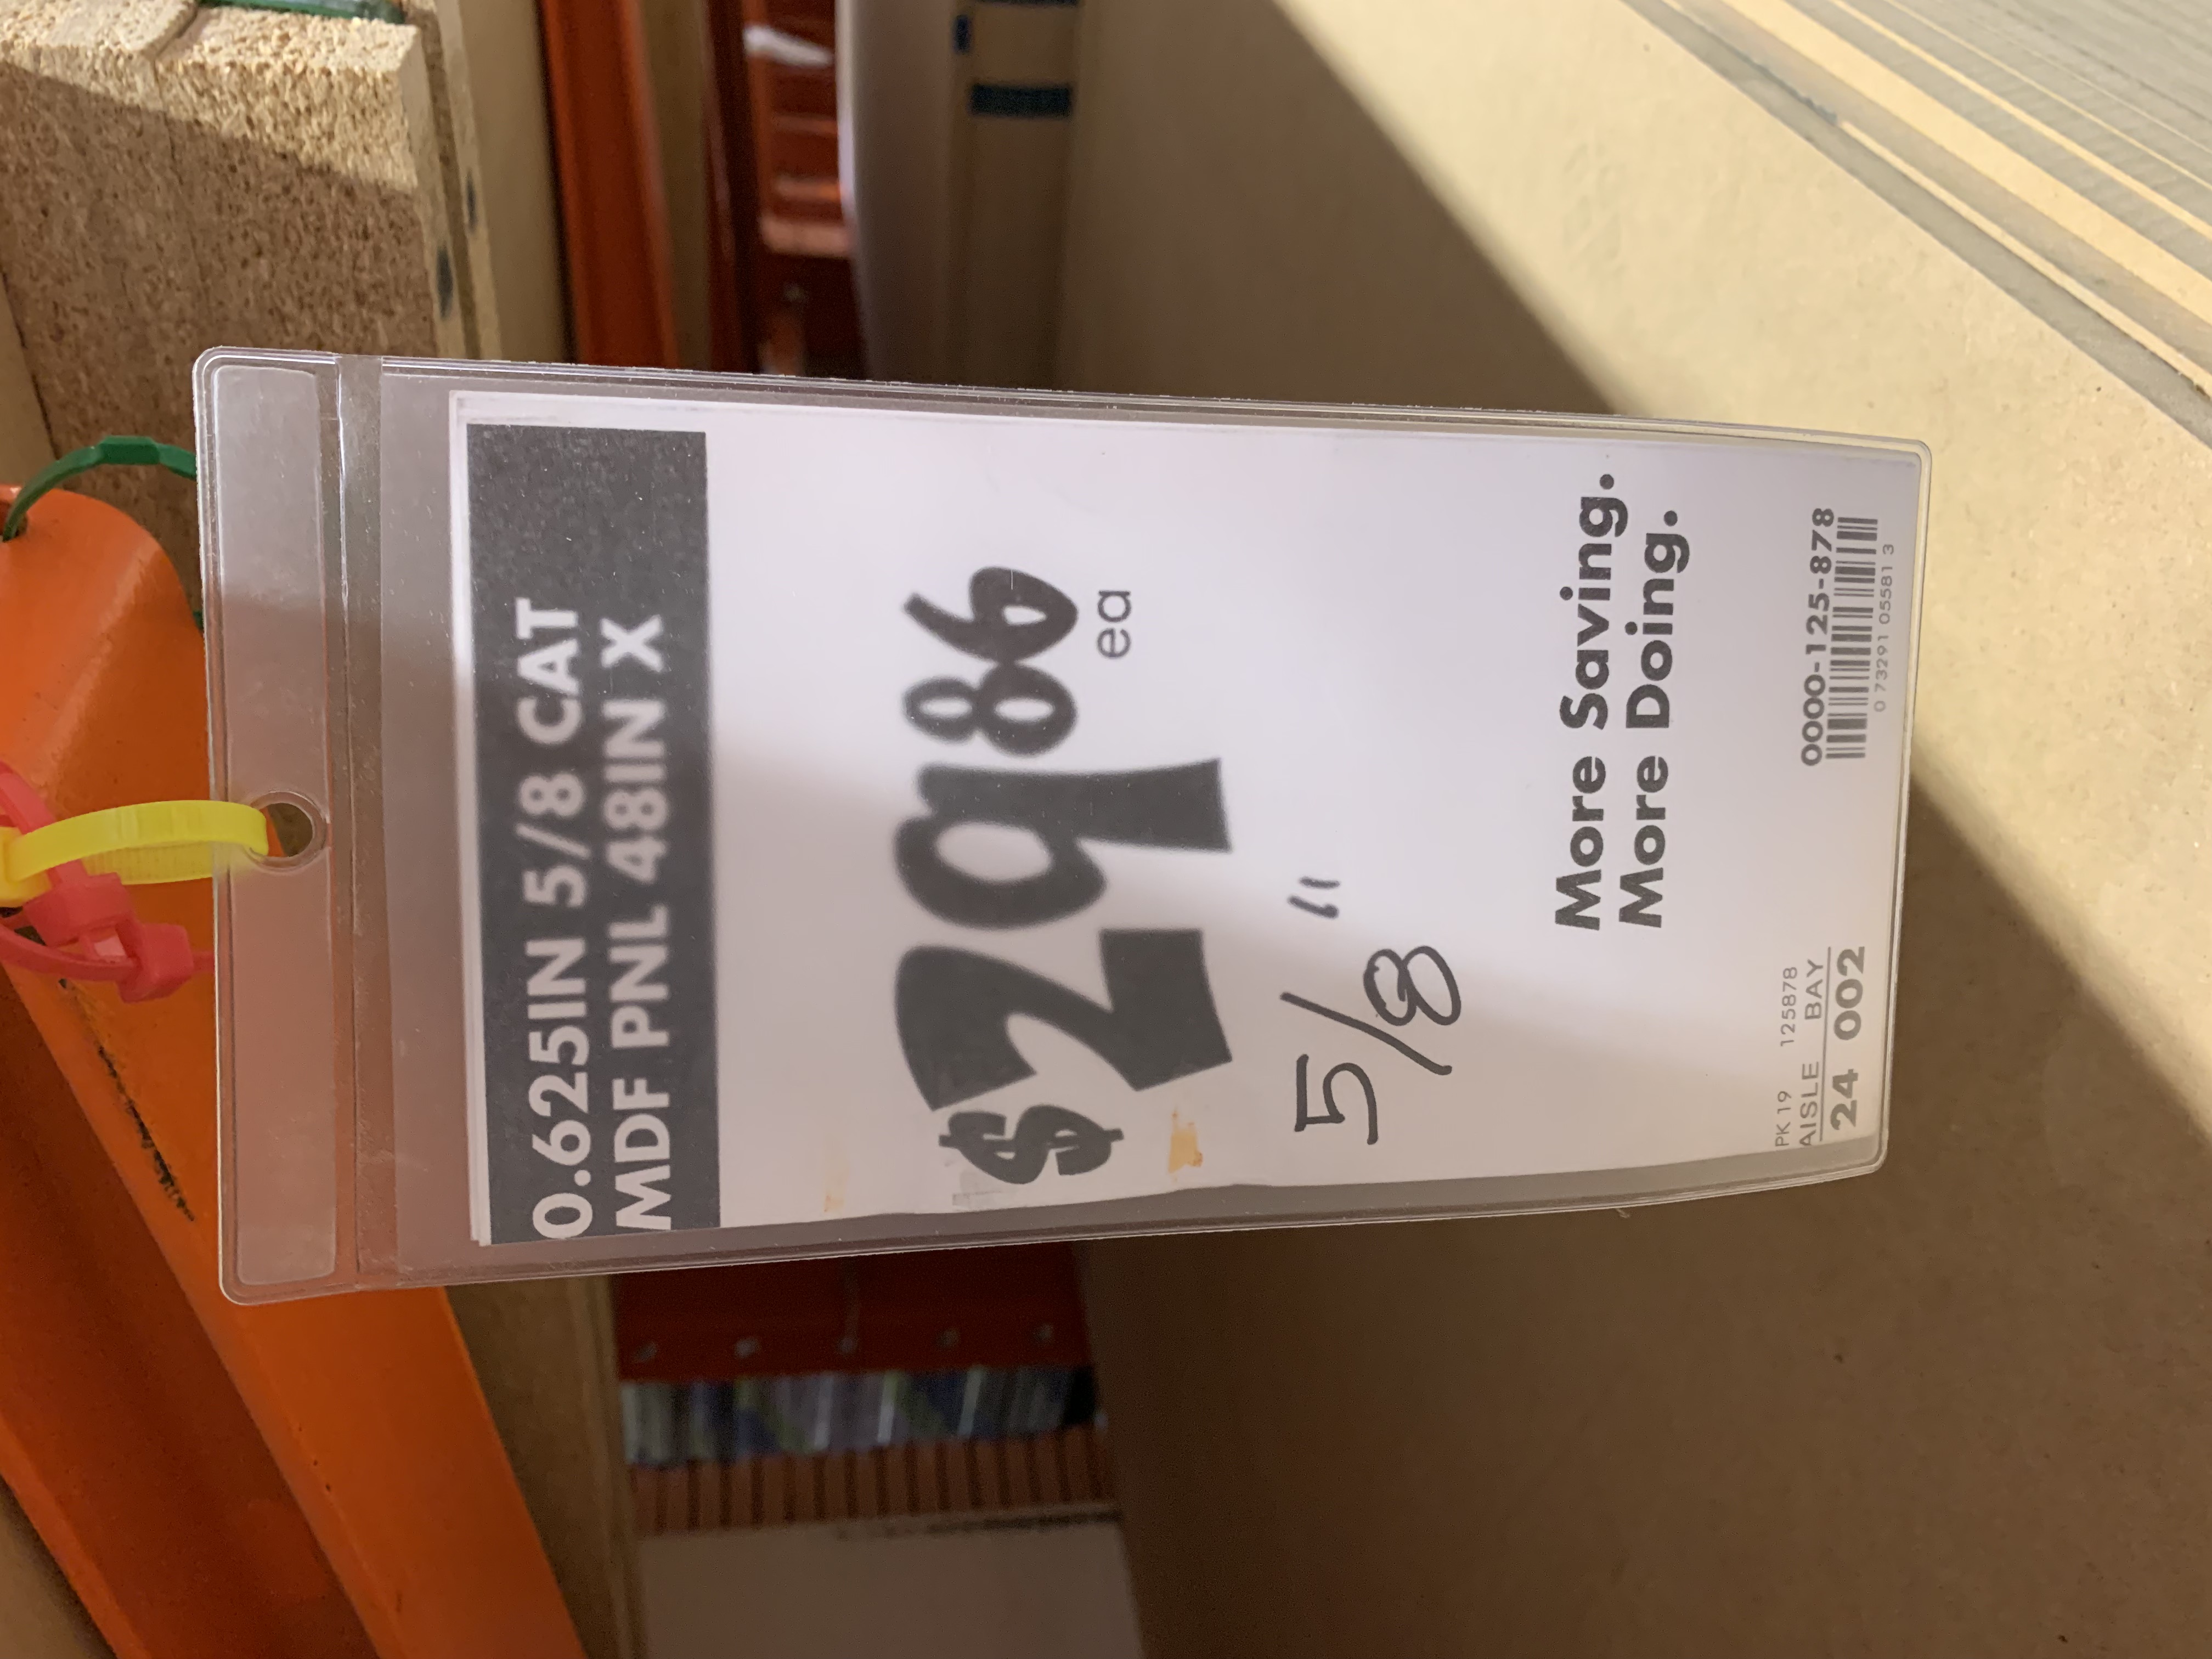
I used 5/8 inch, but would recommend 1/2 in instead
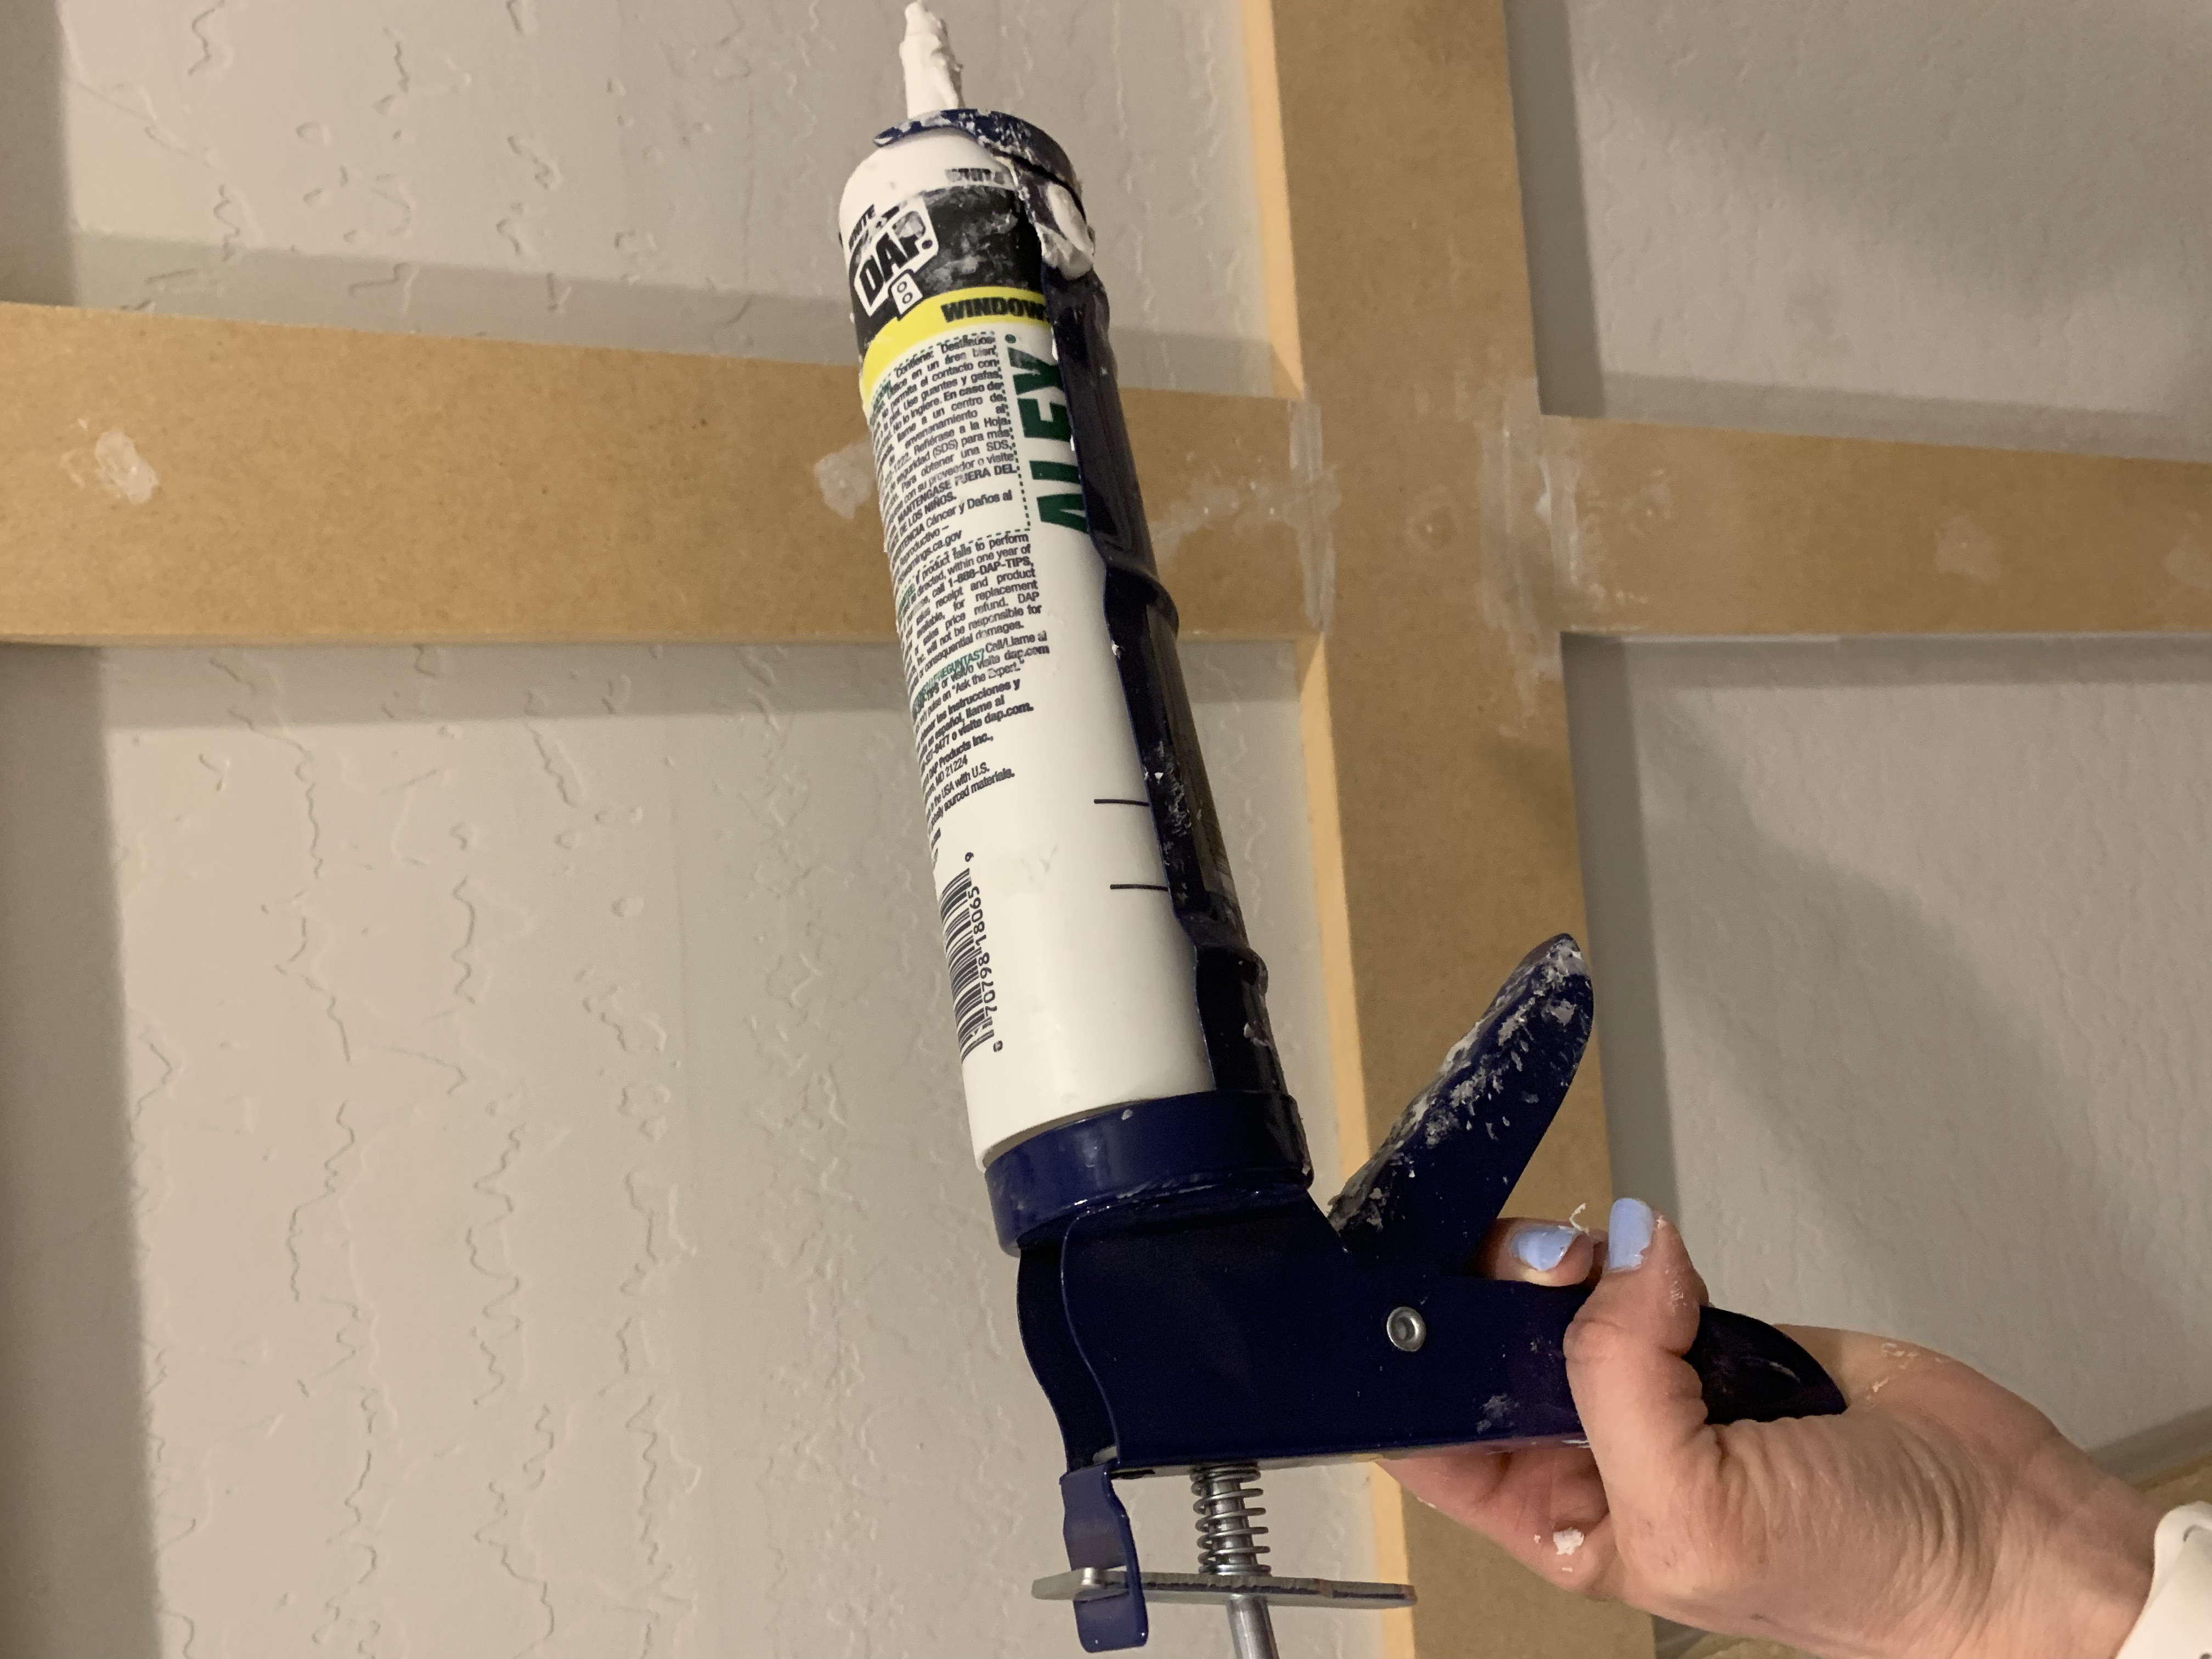
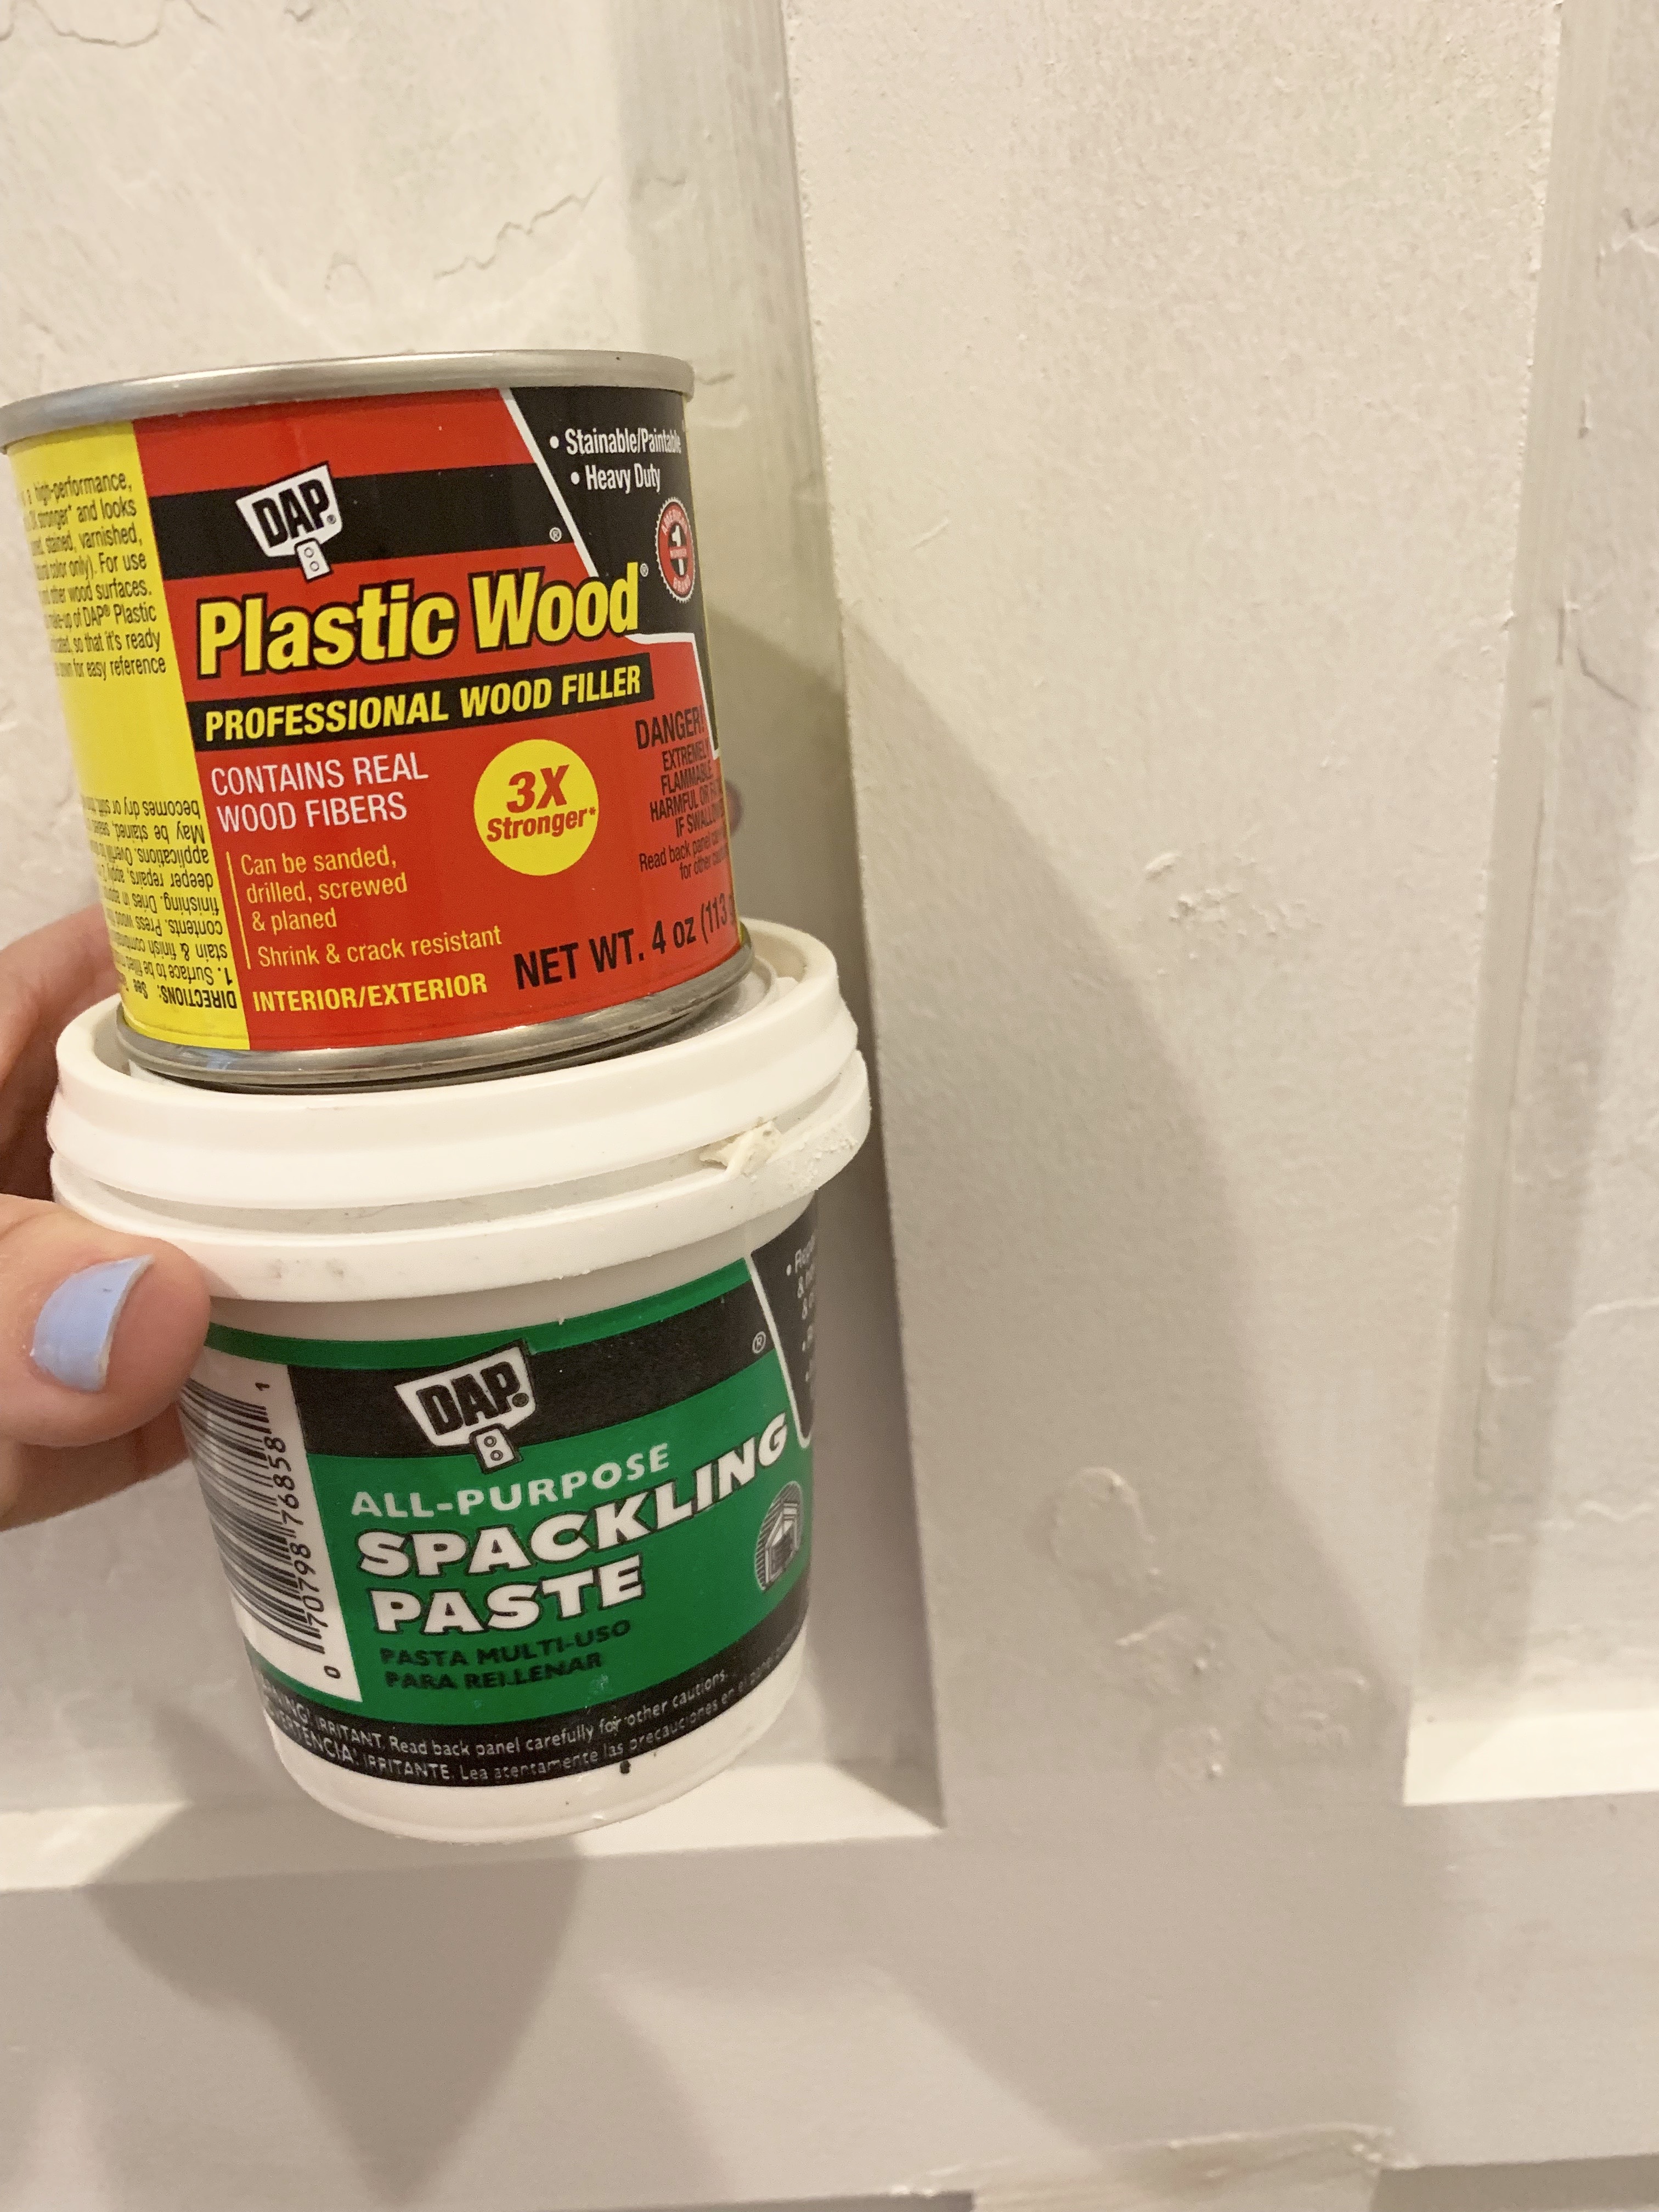
- If you don’t already have these items you will need to buy: Caulk and gun, spackle or wood putty{see pics of what I used}, & square sanding block. I borrowed my friend’s nail gun and my husband has an orbital sander and a level. TOOL LINKS HERE
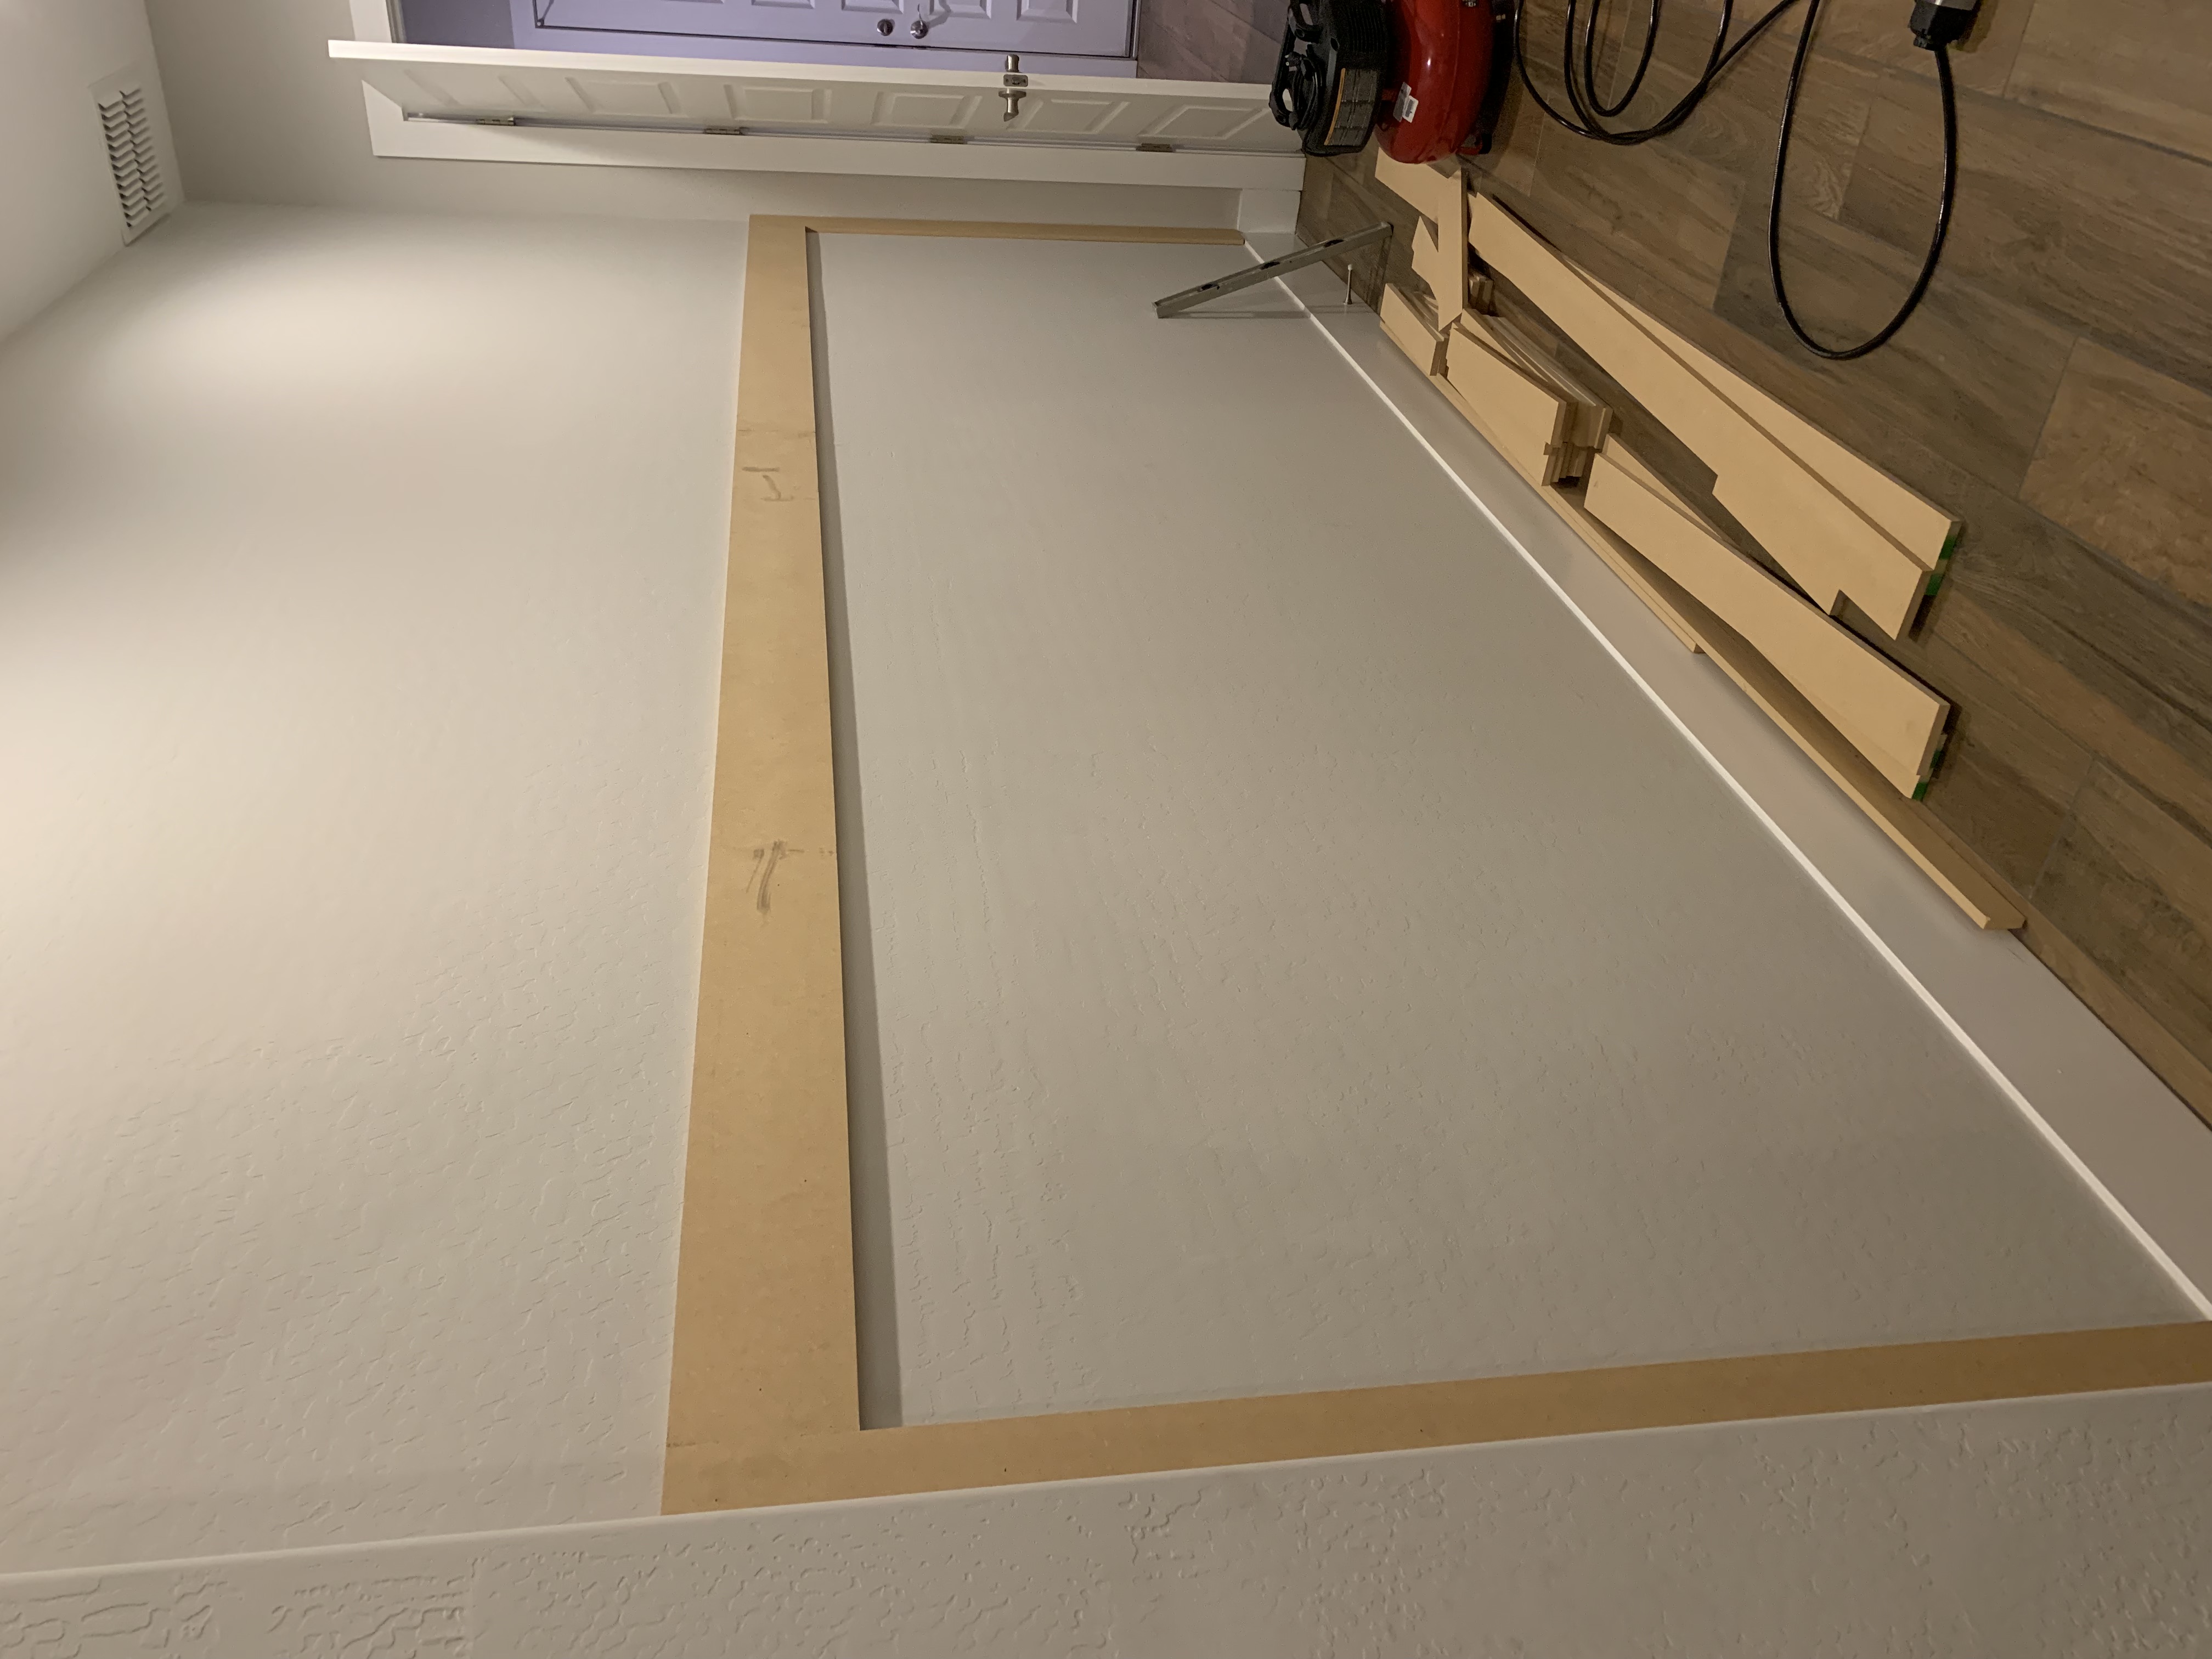
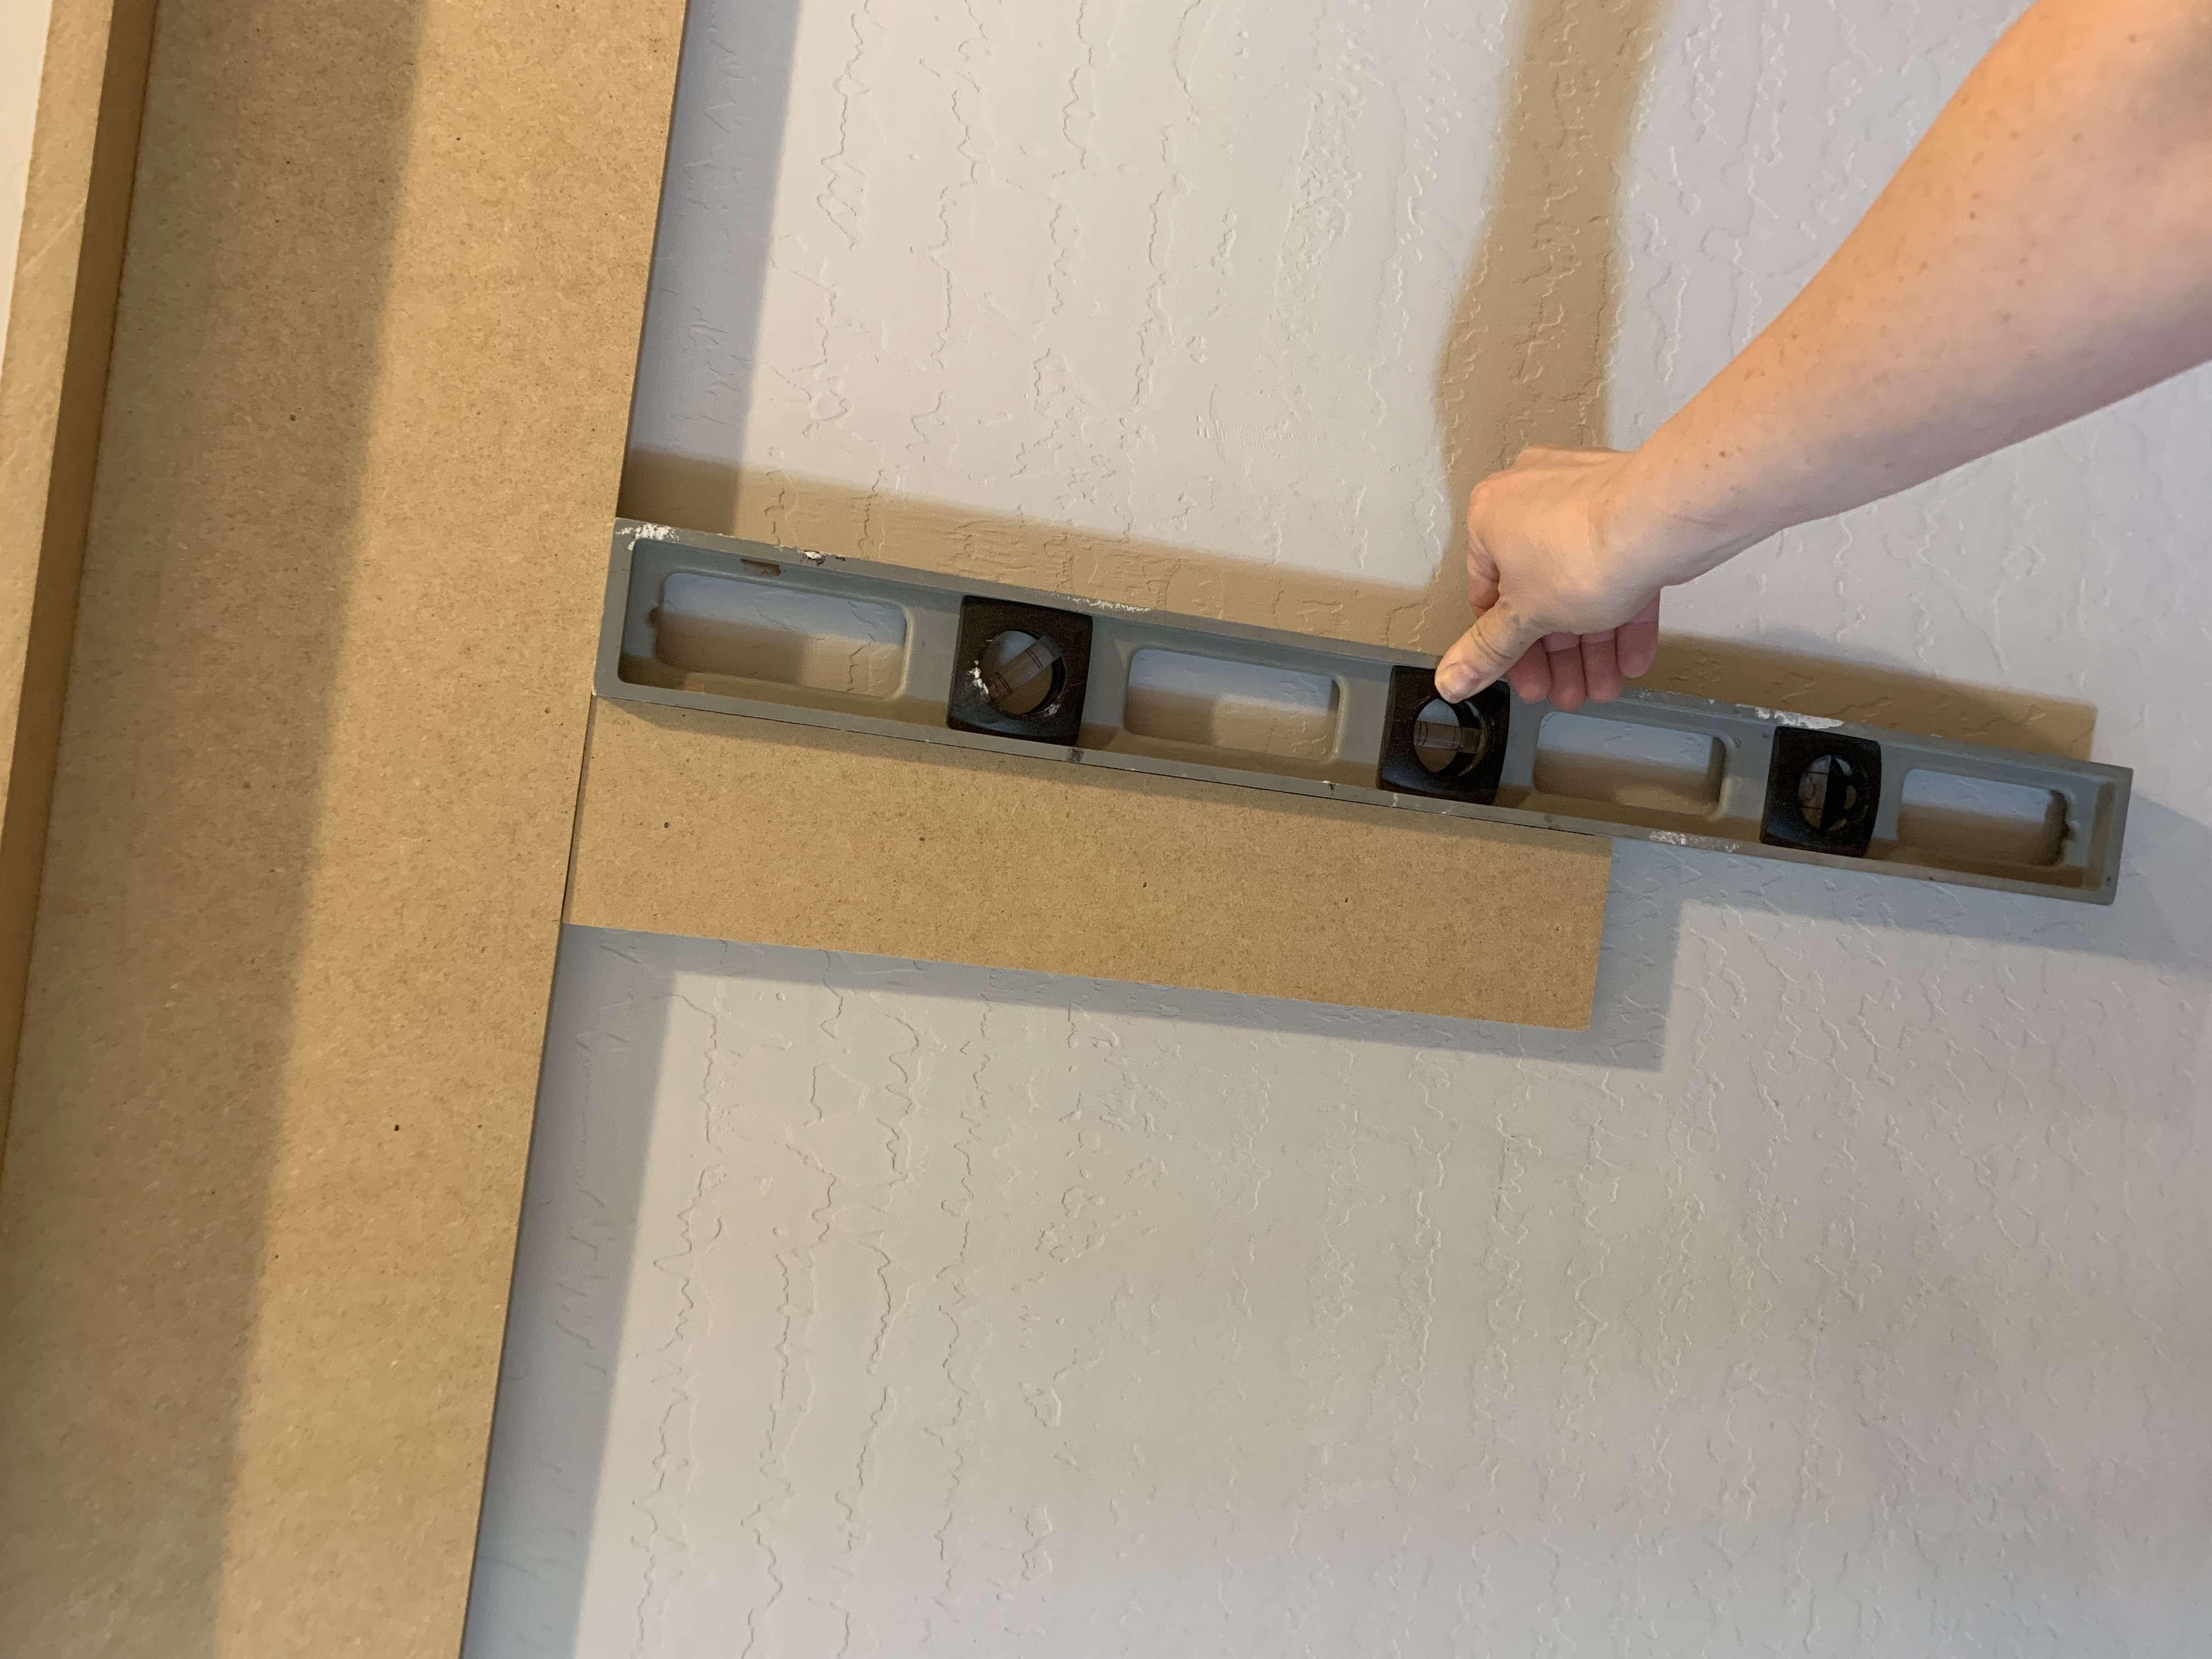
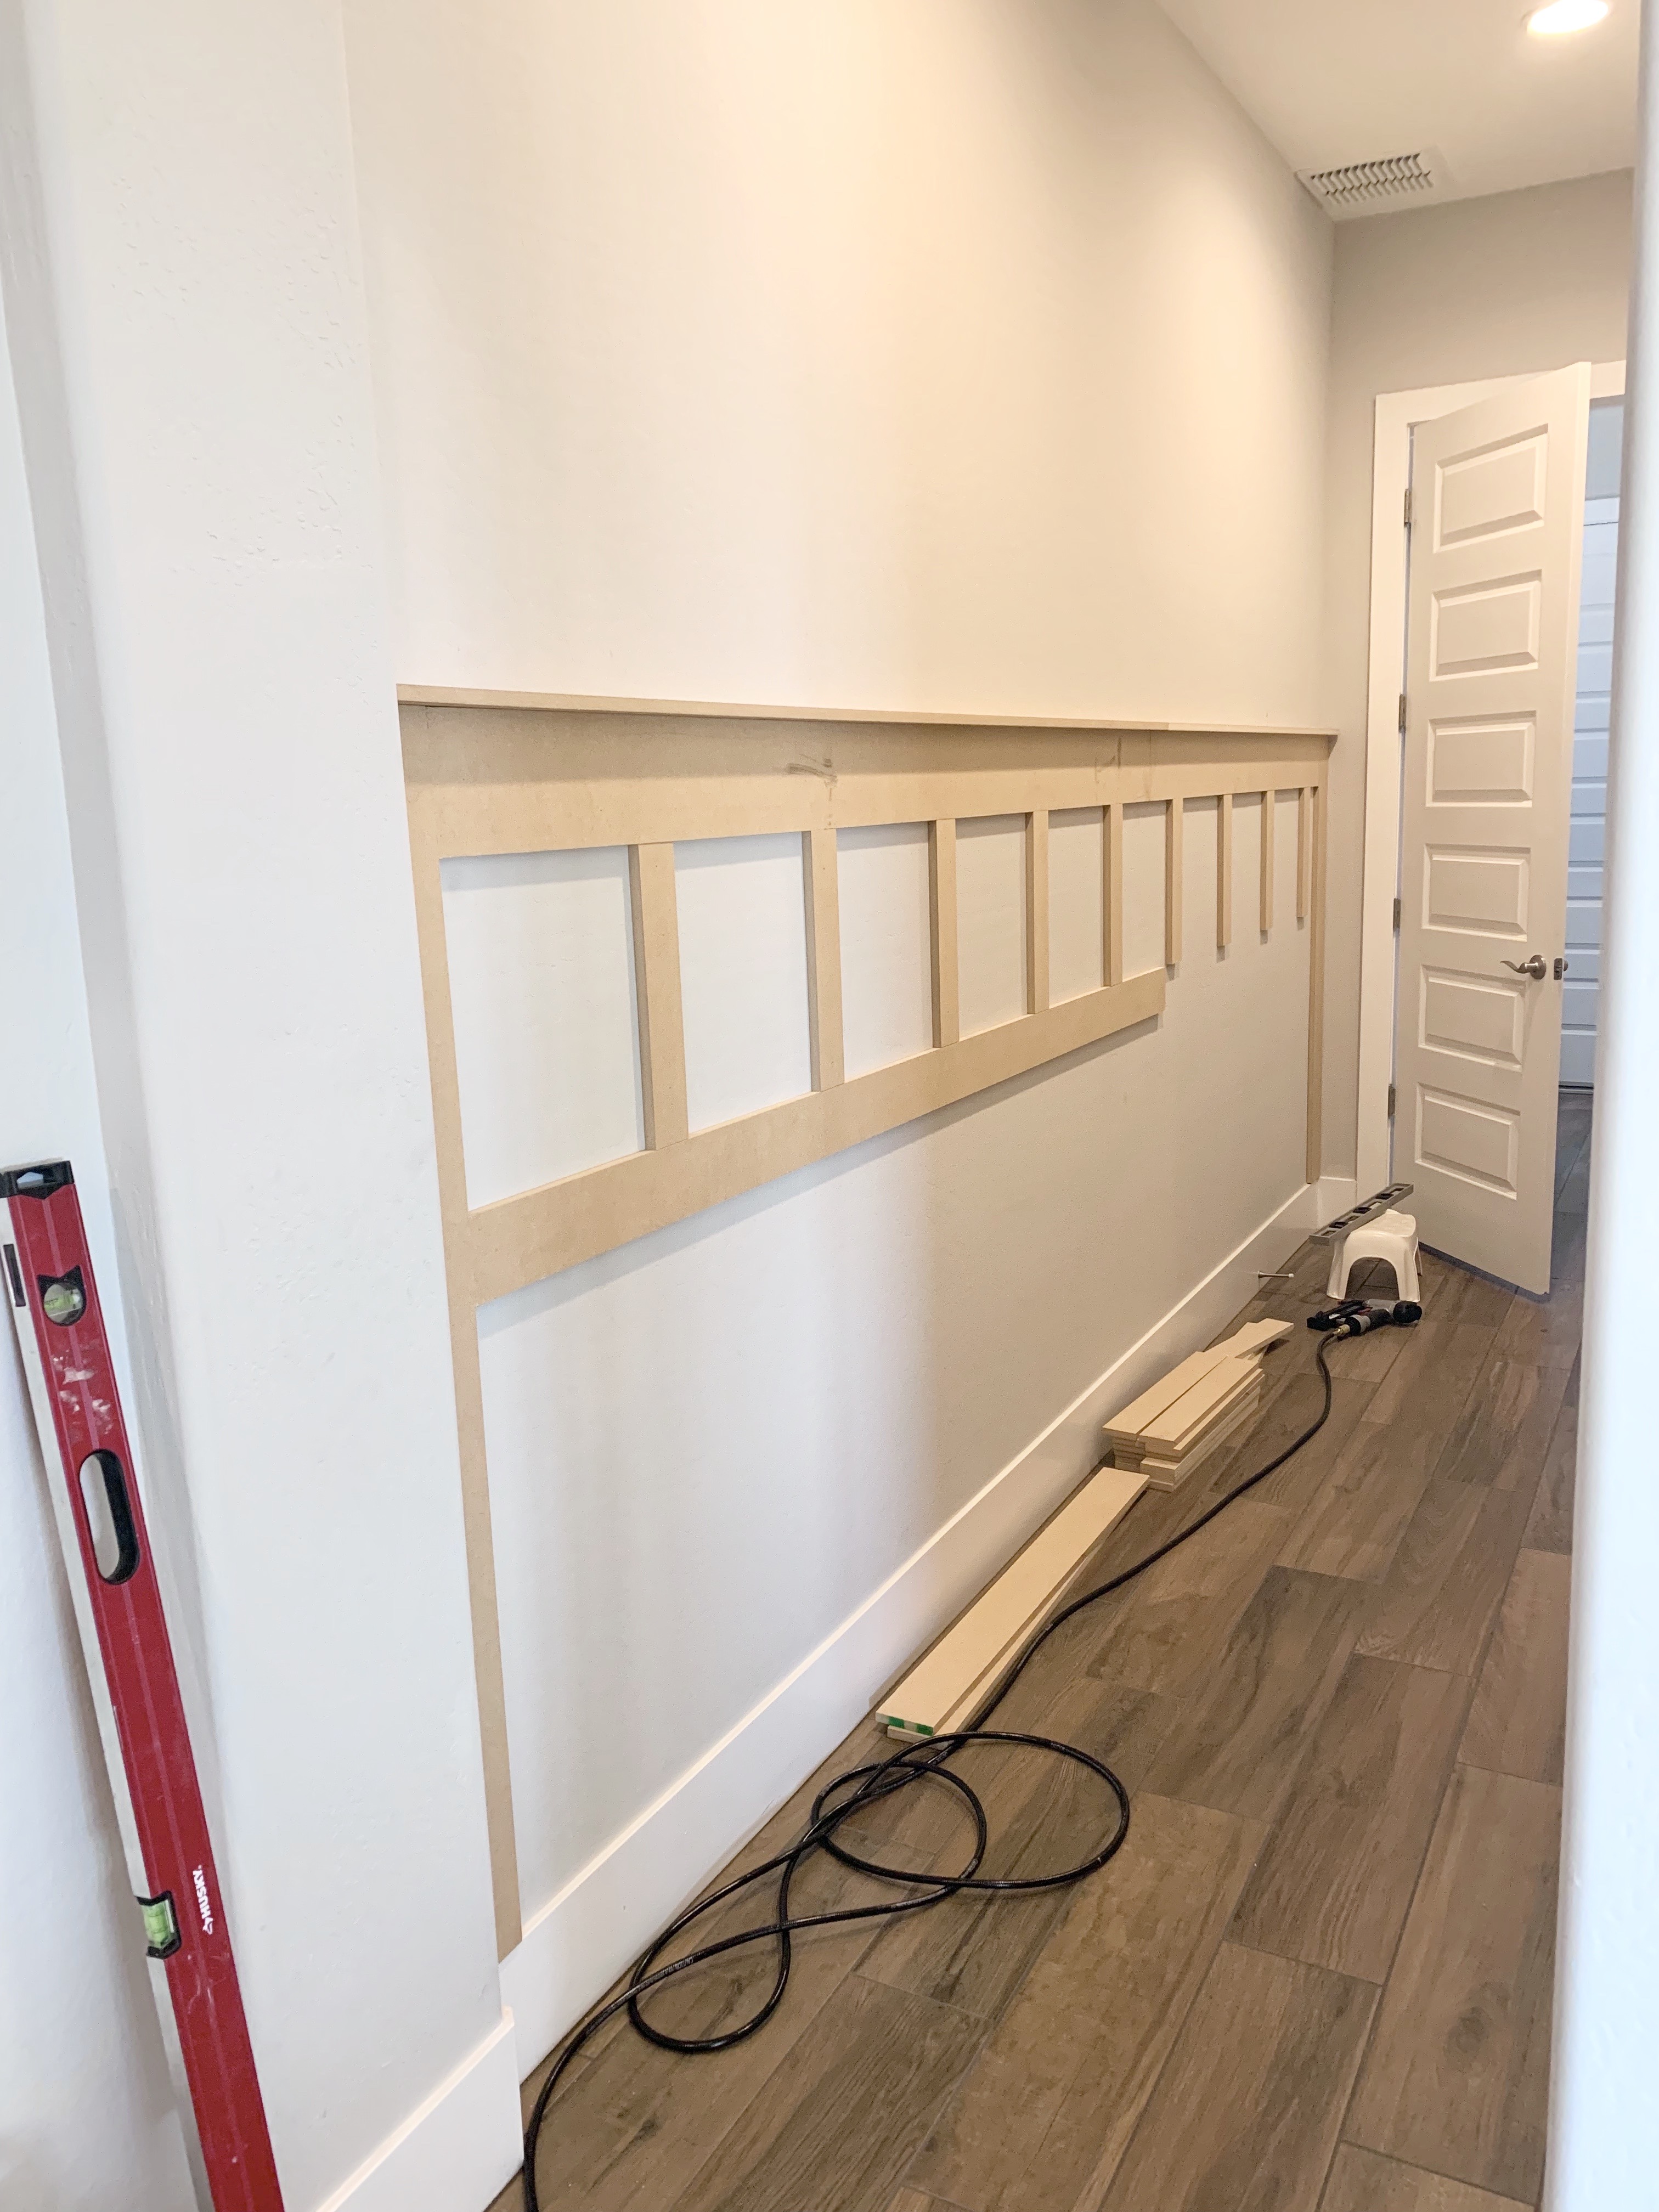
- I started with the outside border boards and kept the existing baseboard. Make sure everything is level! Use your nail gun {or see if you can borrow one} to secure the boards, it’s a piece of cake with this tool! Next I installed the smaller vertical battens and then the horizontal board and then the taller vertical battens. It makes more sense to start from the bottom and work your way up, but I ended up with some mismeasured larger vertical battens so I ended up doing it like that LOL! {See my progress pics for each step}
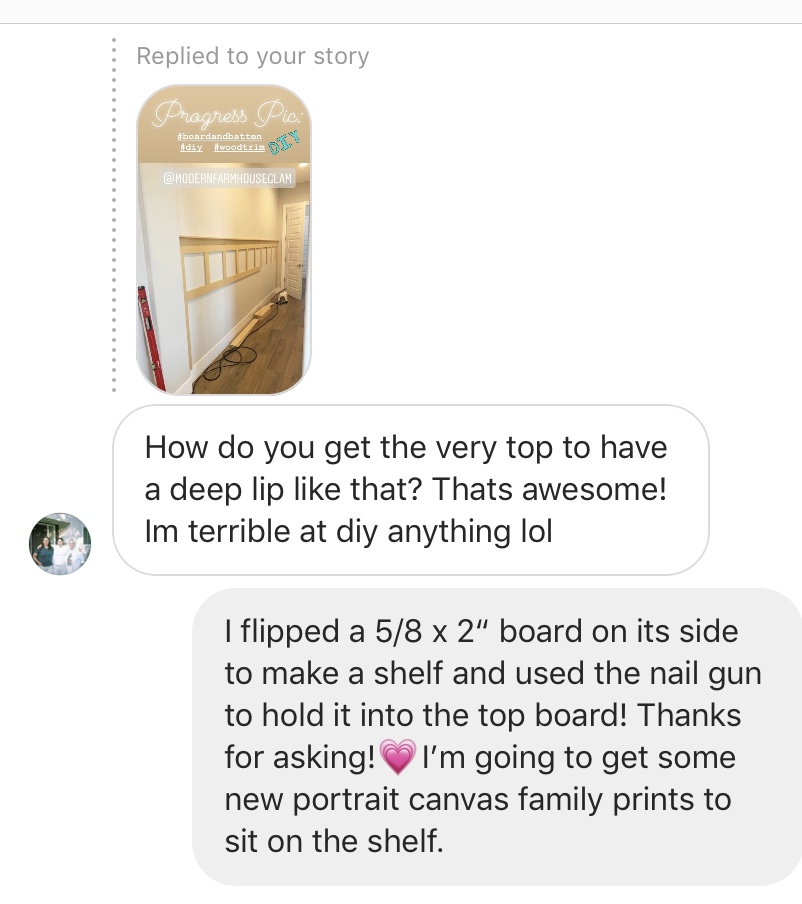
- Install the top shelf! I did not want this shelf to stick out very far so I used a 5/8 x 2 piece. Just flip it on its side and use your nail gun to secure! Easy Peasy!
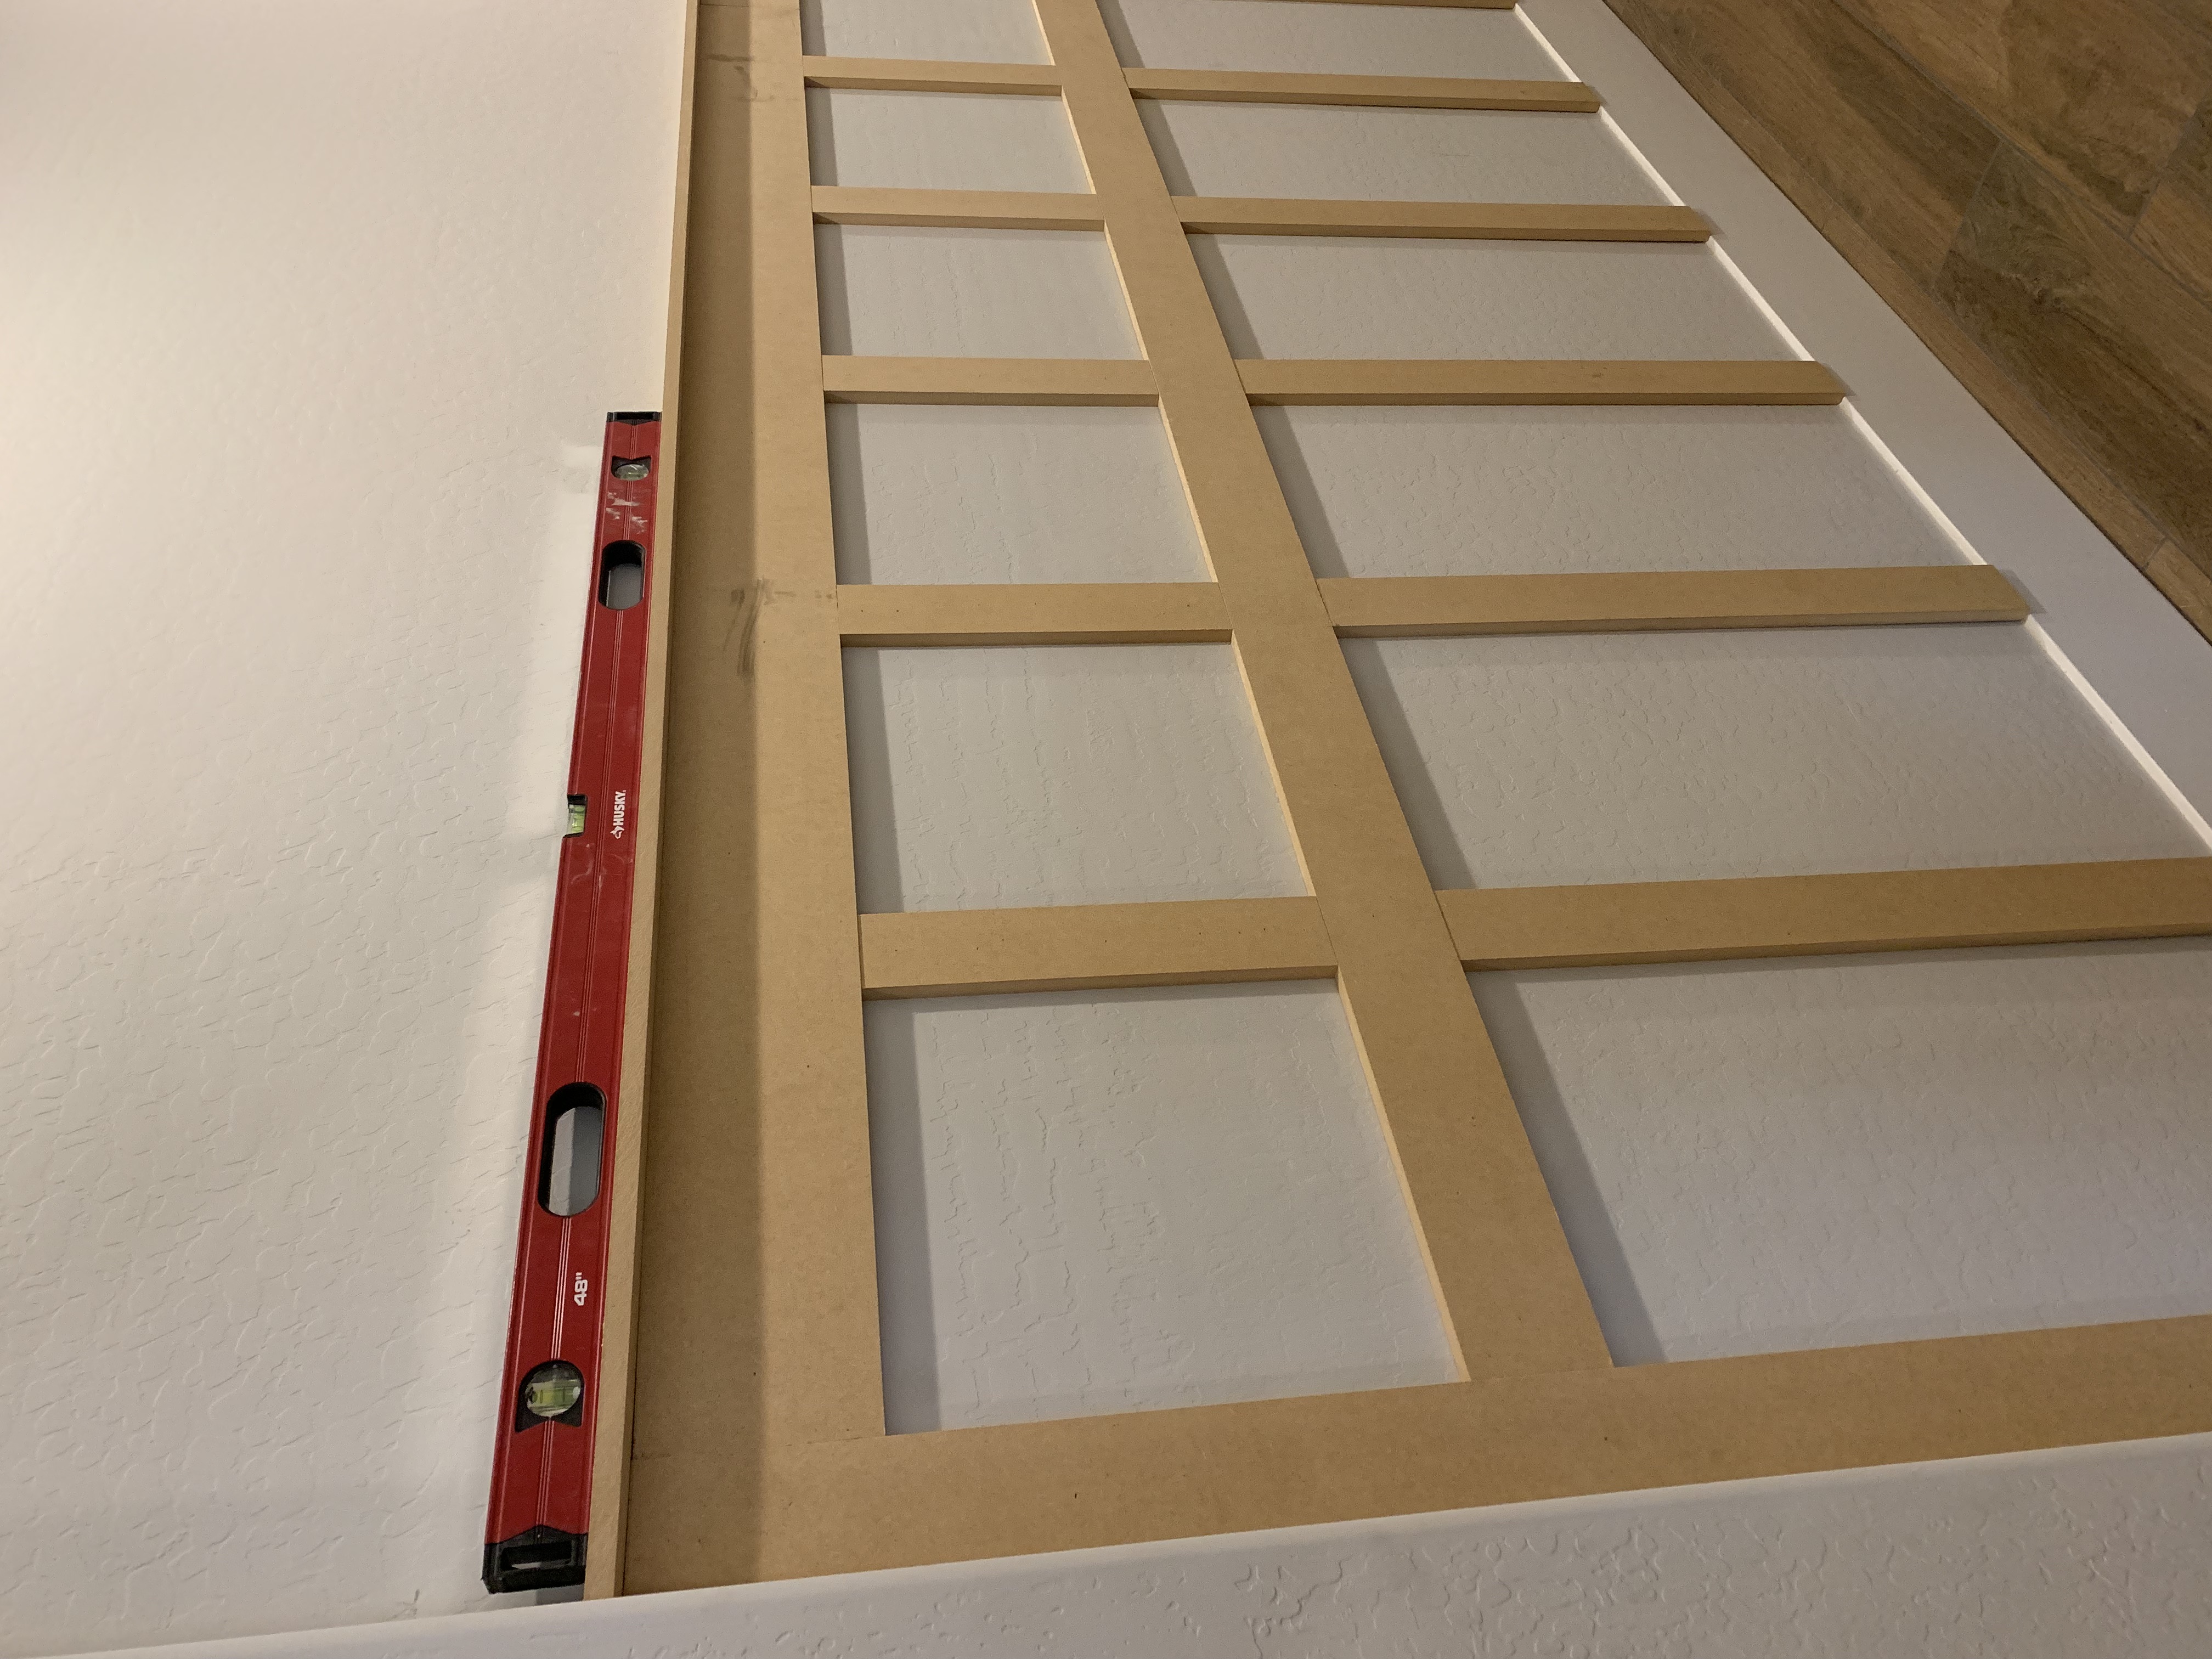
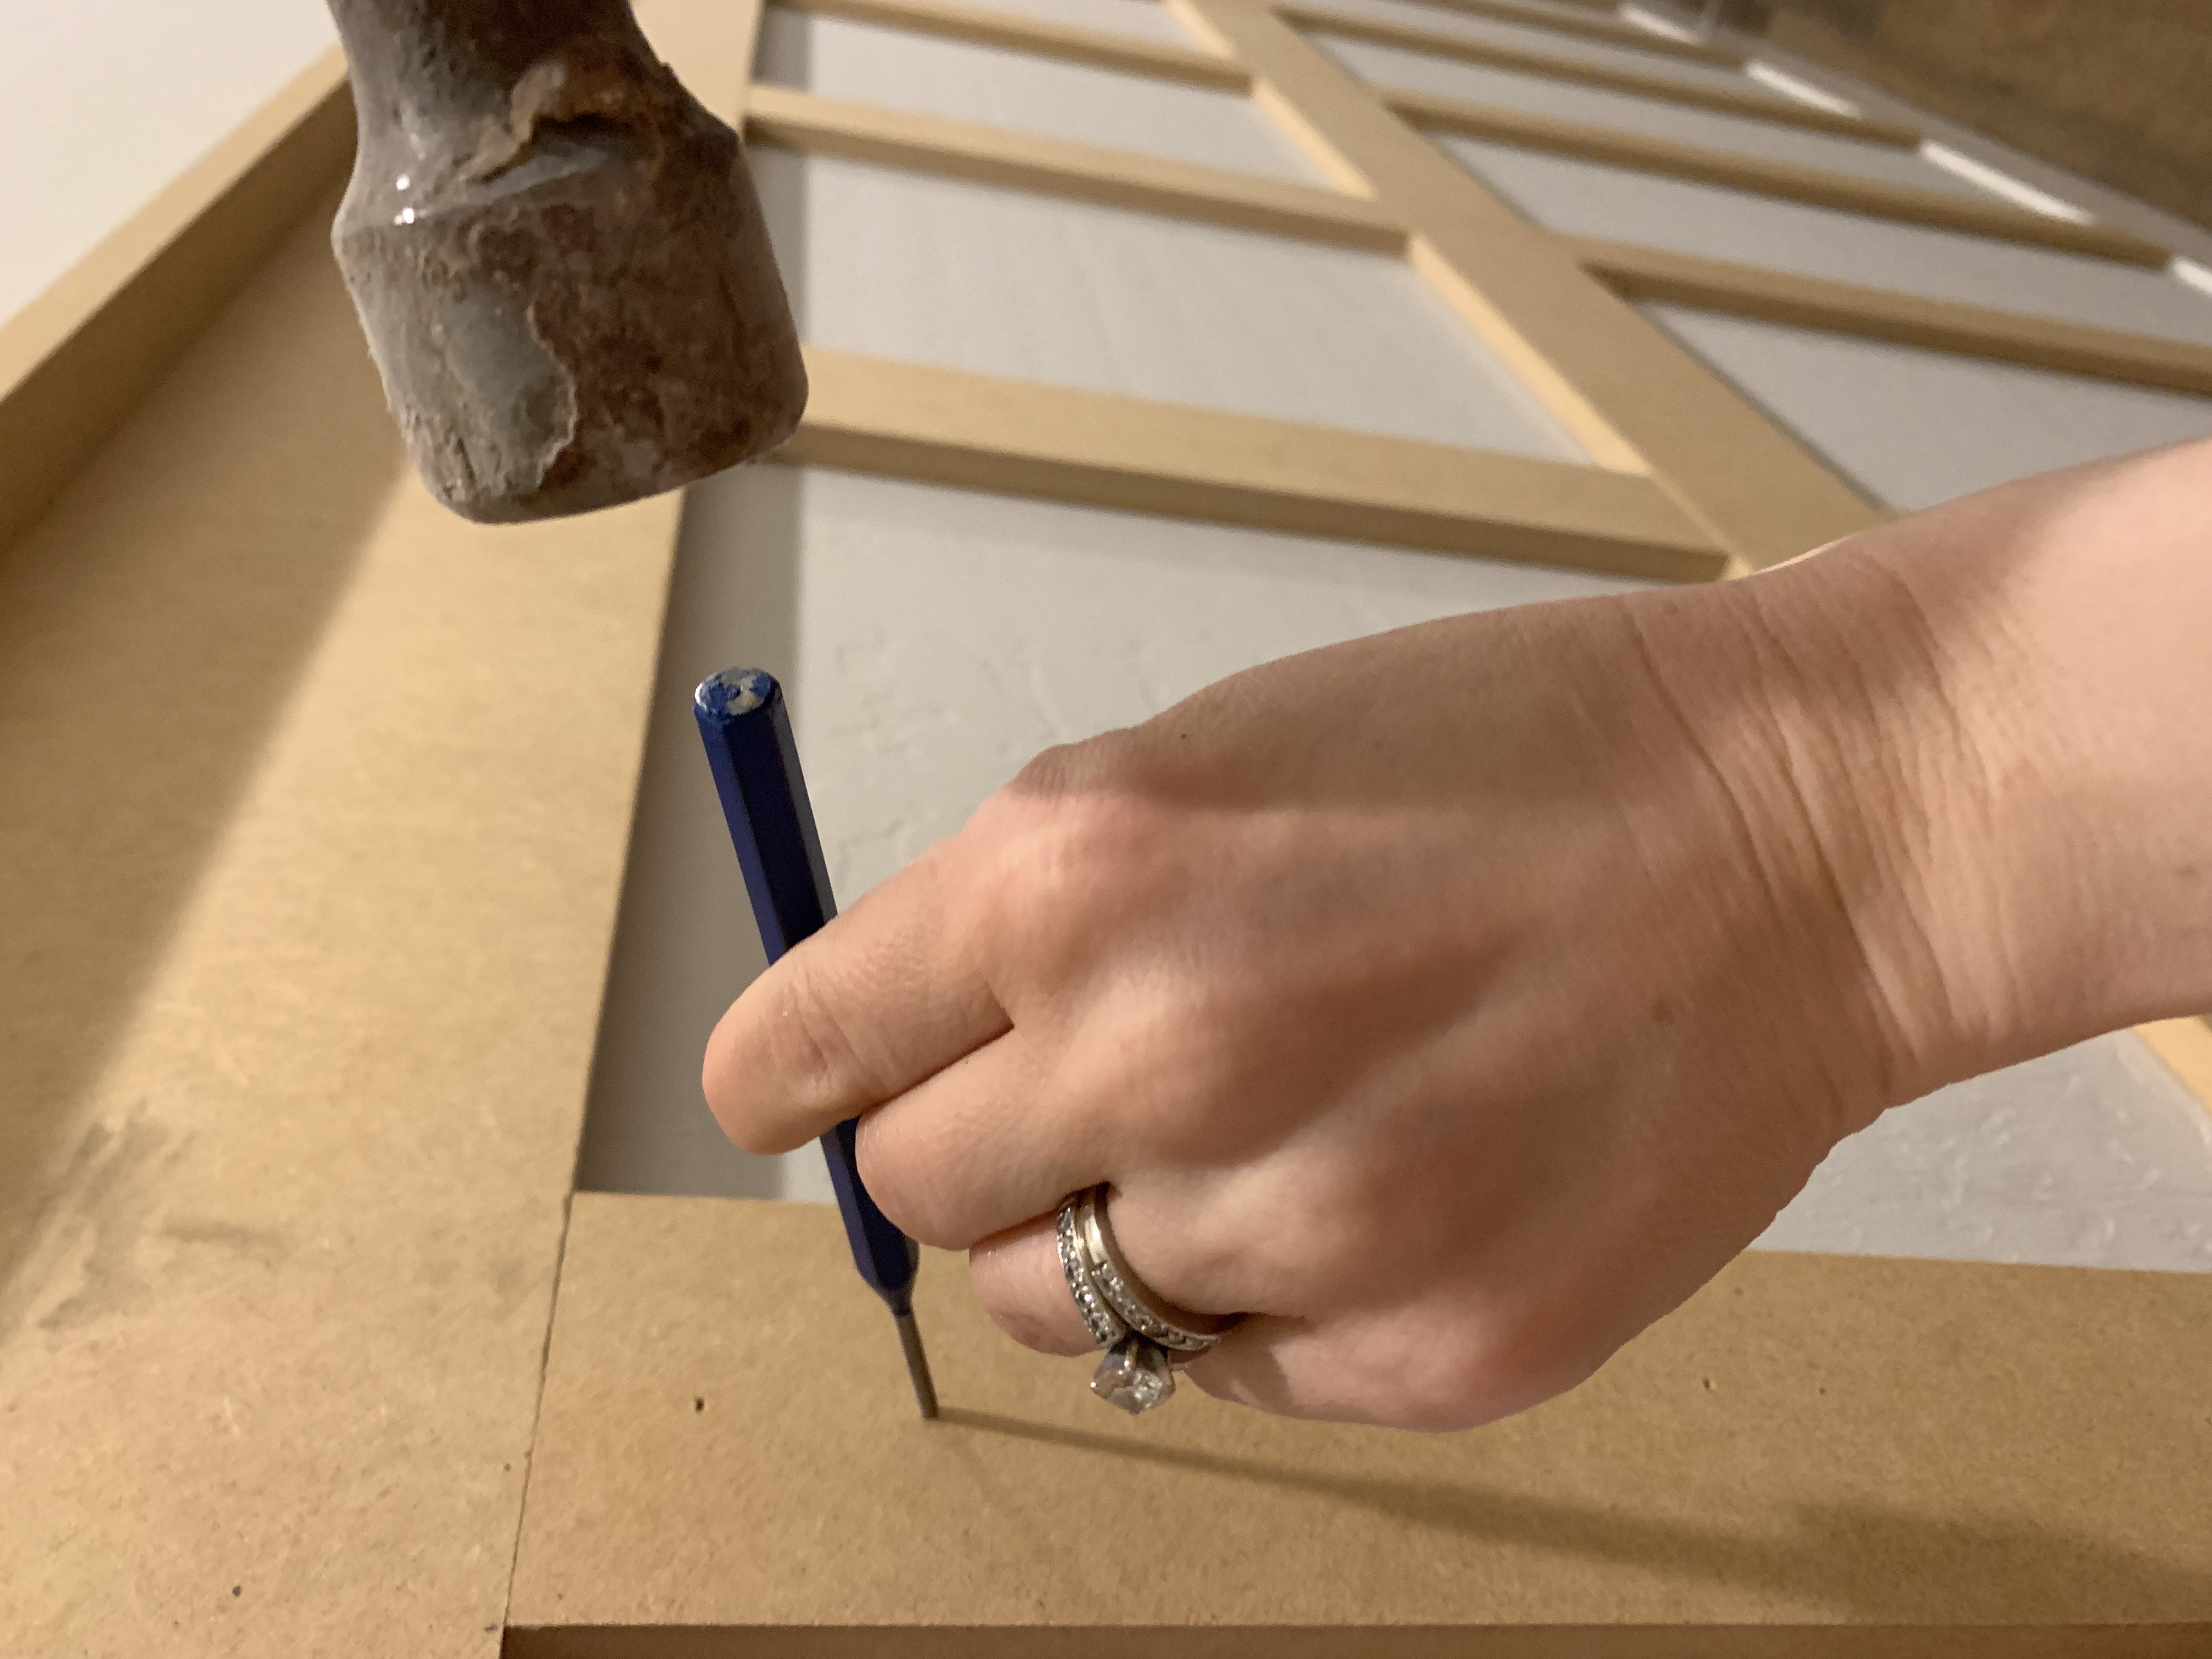
Use a punch for nails that don’t go completely in.
- Caulk all of the seams and spackle or wood putty all of your little nail holes. I recommend using an orbital sander and a sanding block to get all the corner edges. Vacuum up all the dust and wipe with a damp rag to get rid of all of the dust and debris. This caulking/sanding process is pretty annoying but worth it in the end!
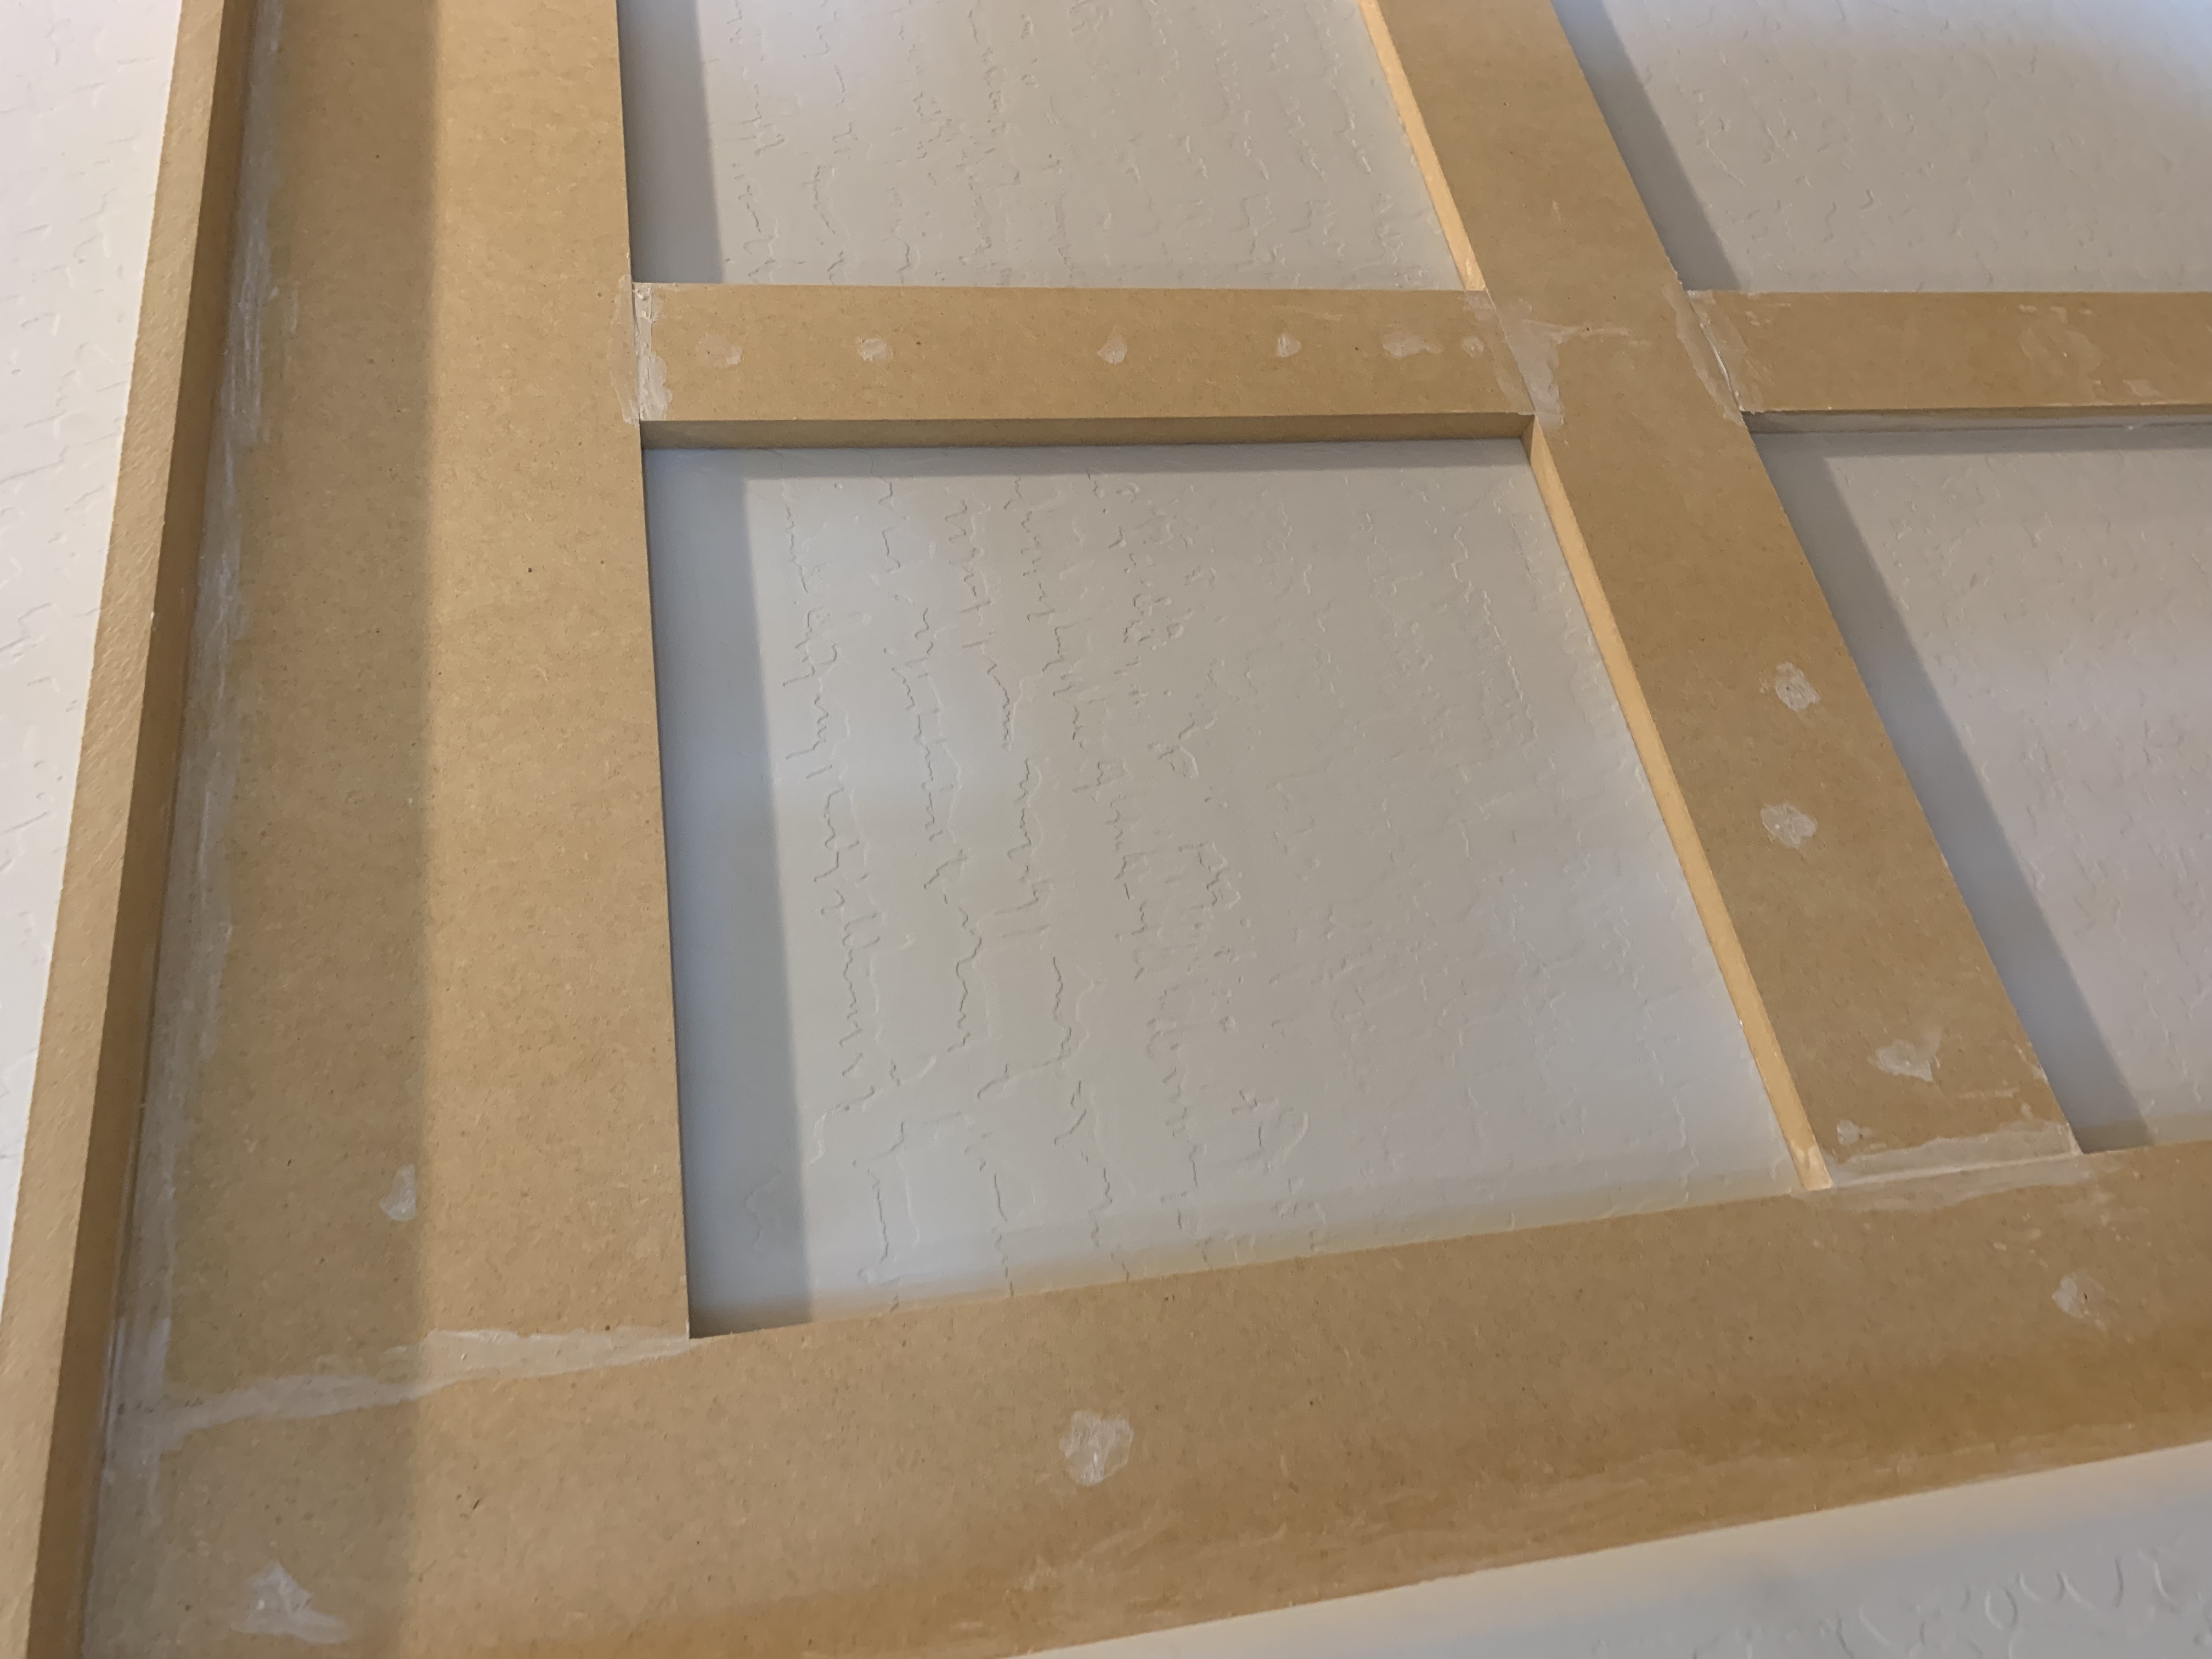
- Start your first coat of paint after everything is smooth and primed. I had to go back and re-caulk and spackle after the first coat because I saw some places I had missed. I ended up with two coats of paint.
- Woohoo you got this!!!

Feel free to message me on INSTAGRAM if you have any questions and tag me if you do the project! I’d love to see it!
My Amazon DIY tools list HERE.
FLOORING INFO:
Our flooring is wood-look porcelain tile and we selected it with the builder. We are SO happy with it! We chose a dark grout so that it doesn’t ever look dirty. With such a large amount of flooring that we needed, we didn’t want to mess around experimenting with any of the newer options. We chose the “gold-standard,” which is porcelain tile because it is proven, pretty much indestructible, and high quality. I also recommend sealing the grout and tile, like we did.
YOU MAY ALSO LIKE:
Shop my Amazon Favorite Finds HERE
DIY “MOODY” BOARD AND BATTEN IN THE GAMEROOM/TEEN ROOM

